I enjoy listening to Permaculture podcasts while I am driving, or performing menial tasks at work. I am always picking up interesting new factoids and discovering new possibilities. My major discovery this week was this podcast on Olla Irrigation.
Olla irrigation is burying unglazed pots in the garden. The pots are filled with water which seeps out and waters the plants. It’s useful in dry hot areas where evaporation is a problem.
I did some more research and found this article on the Permaculture Research Institute website. It is an extremely useful article because it includes a chart showing how far the water from pots of various diameters will seep, as well as suggested planting distances.
Most of our suburban homestead is on timed drip irrigation. However, I have a few problematic areas that aren’t covered well. I have also been working on my goal to cover all of our planting areas with living mulches. I have had success in most areas except the ones with poor irrigation coverage.
We are in the midst of a drought, so it’s important to reduce our water use as much as possible. It’s like a vicious circle. The areas with good, drought tolerant living ground covers require less water after establishment, but it’s impossible to get them established without irrigation. We try to be as efficient as possible, and the drip does a pretty good job.
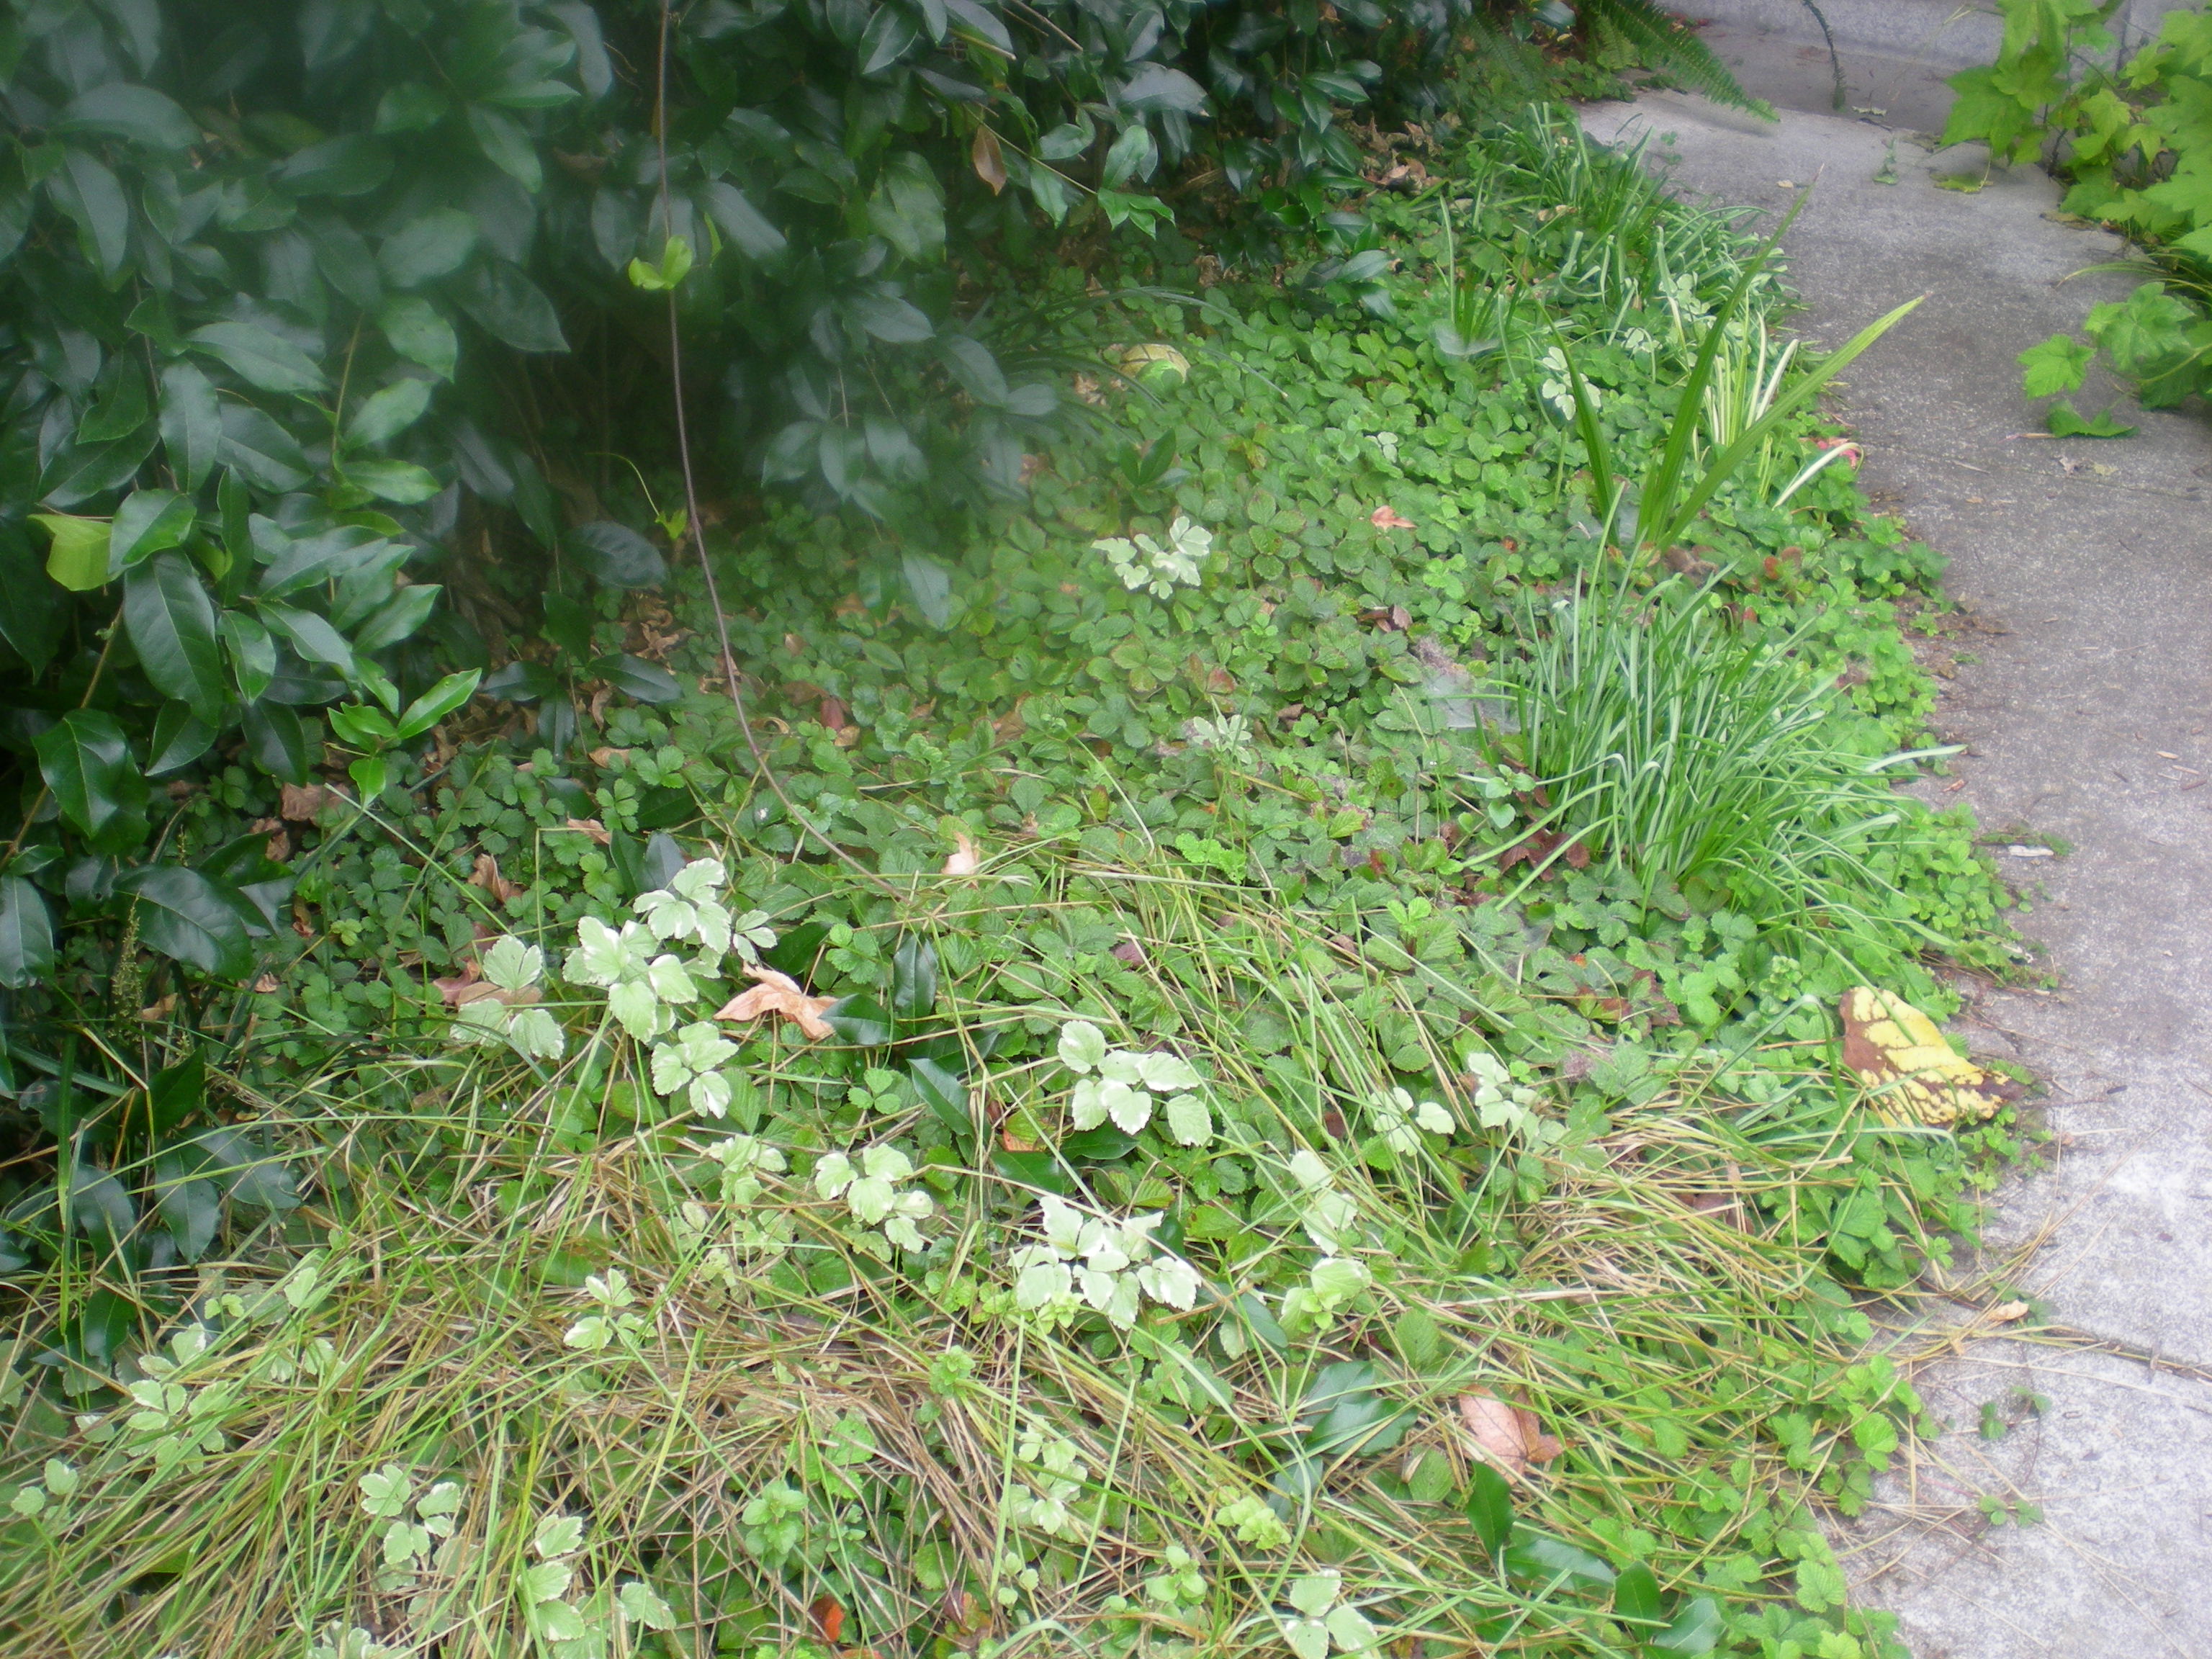
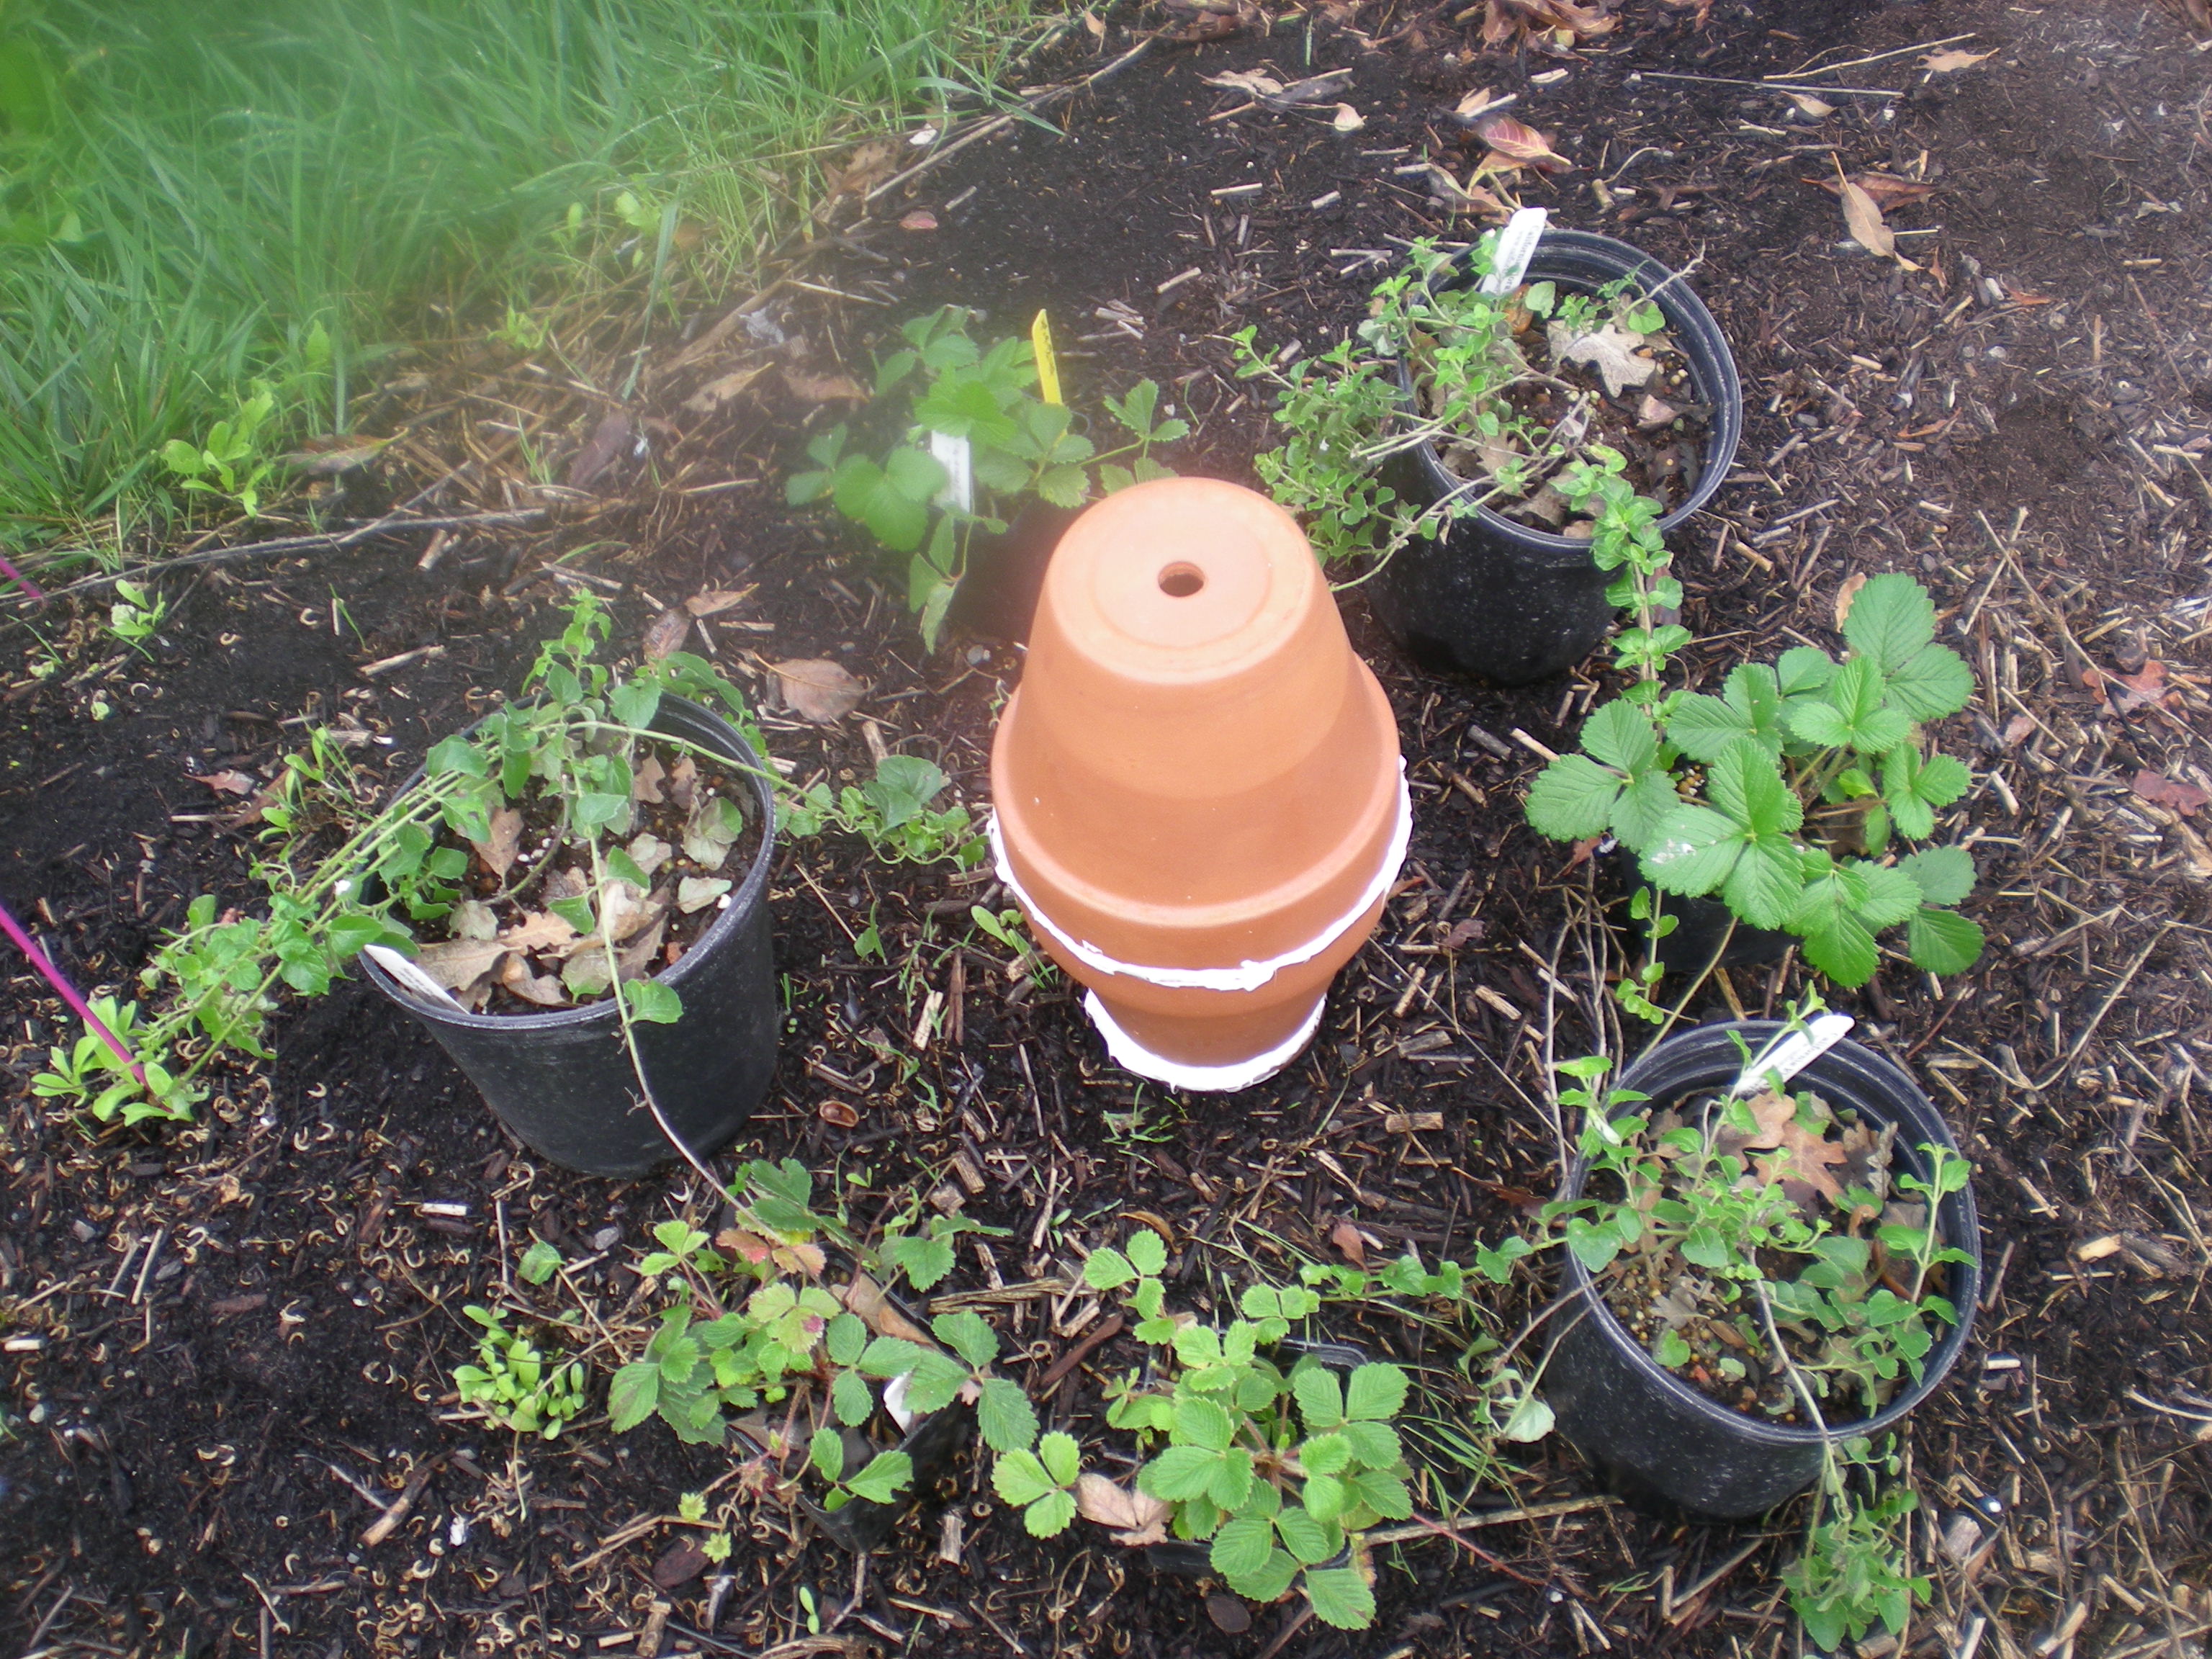
Here’s an example of an area where I have had success establishing ground covers.
 The ground cover is Yerba Buena (Satureja douglasii) and Woodland Strawberry (Fragaria vesca). Both of these plants also fall into the medicinal and edible categories.
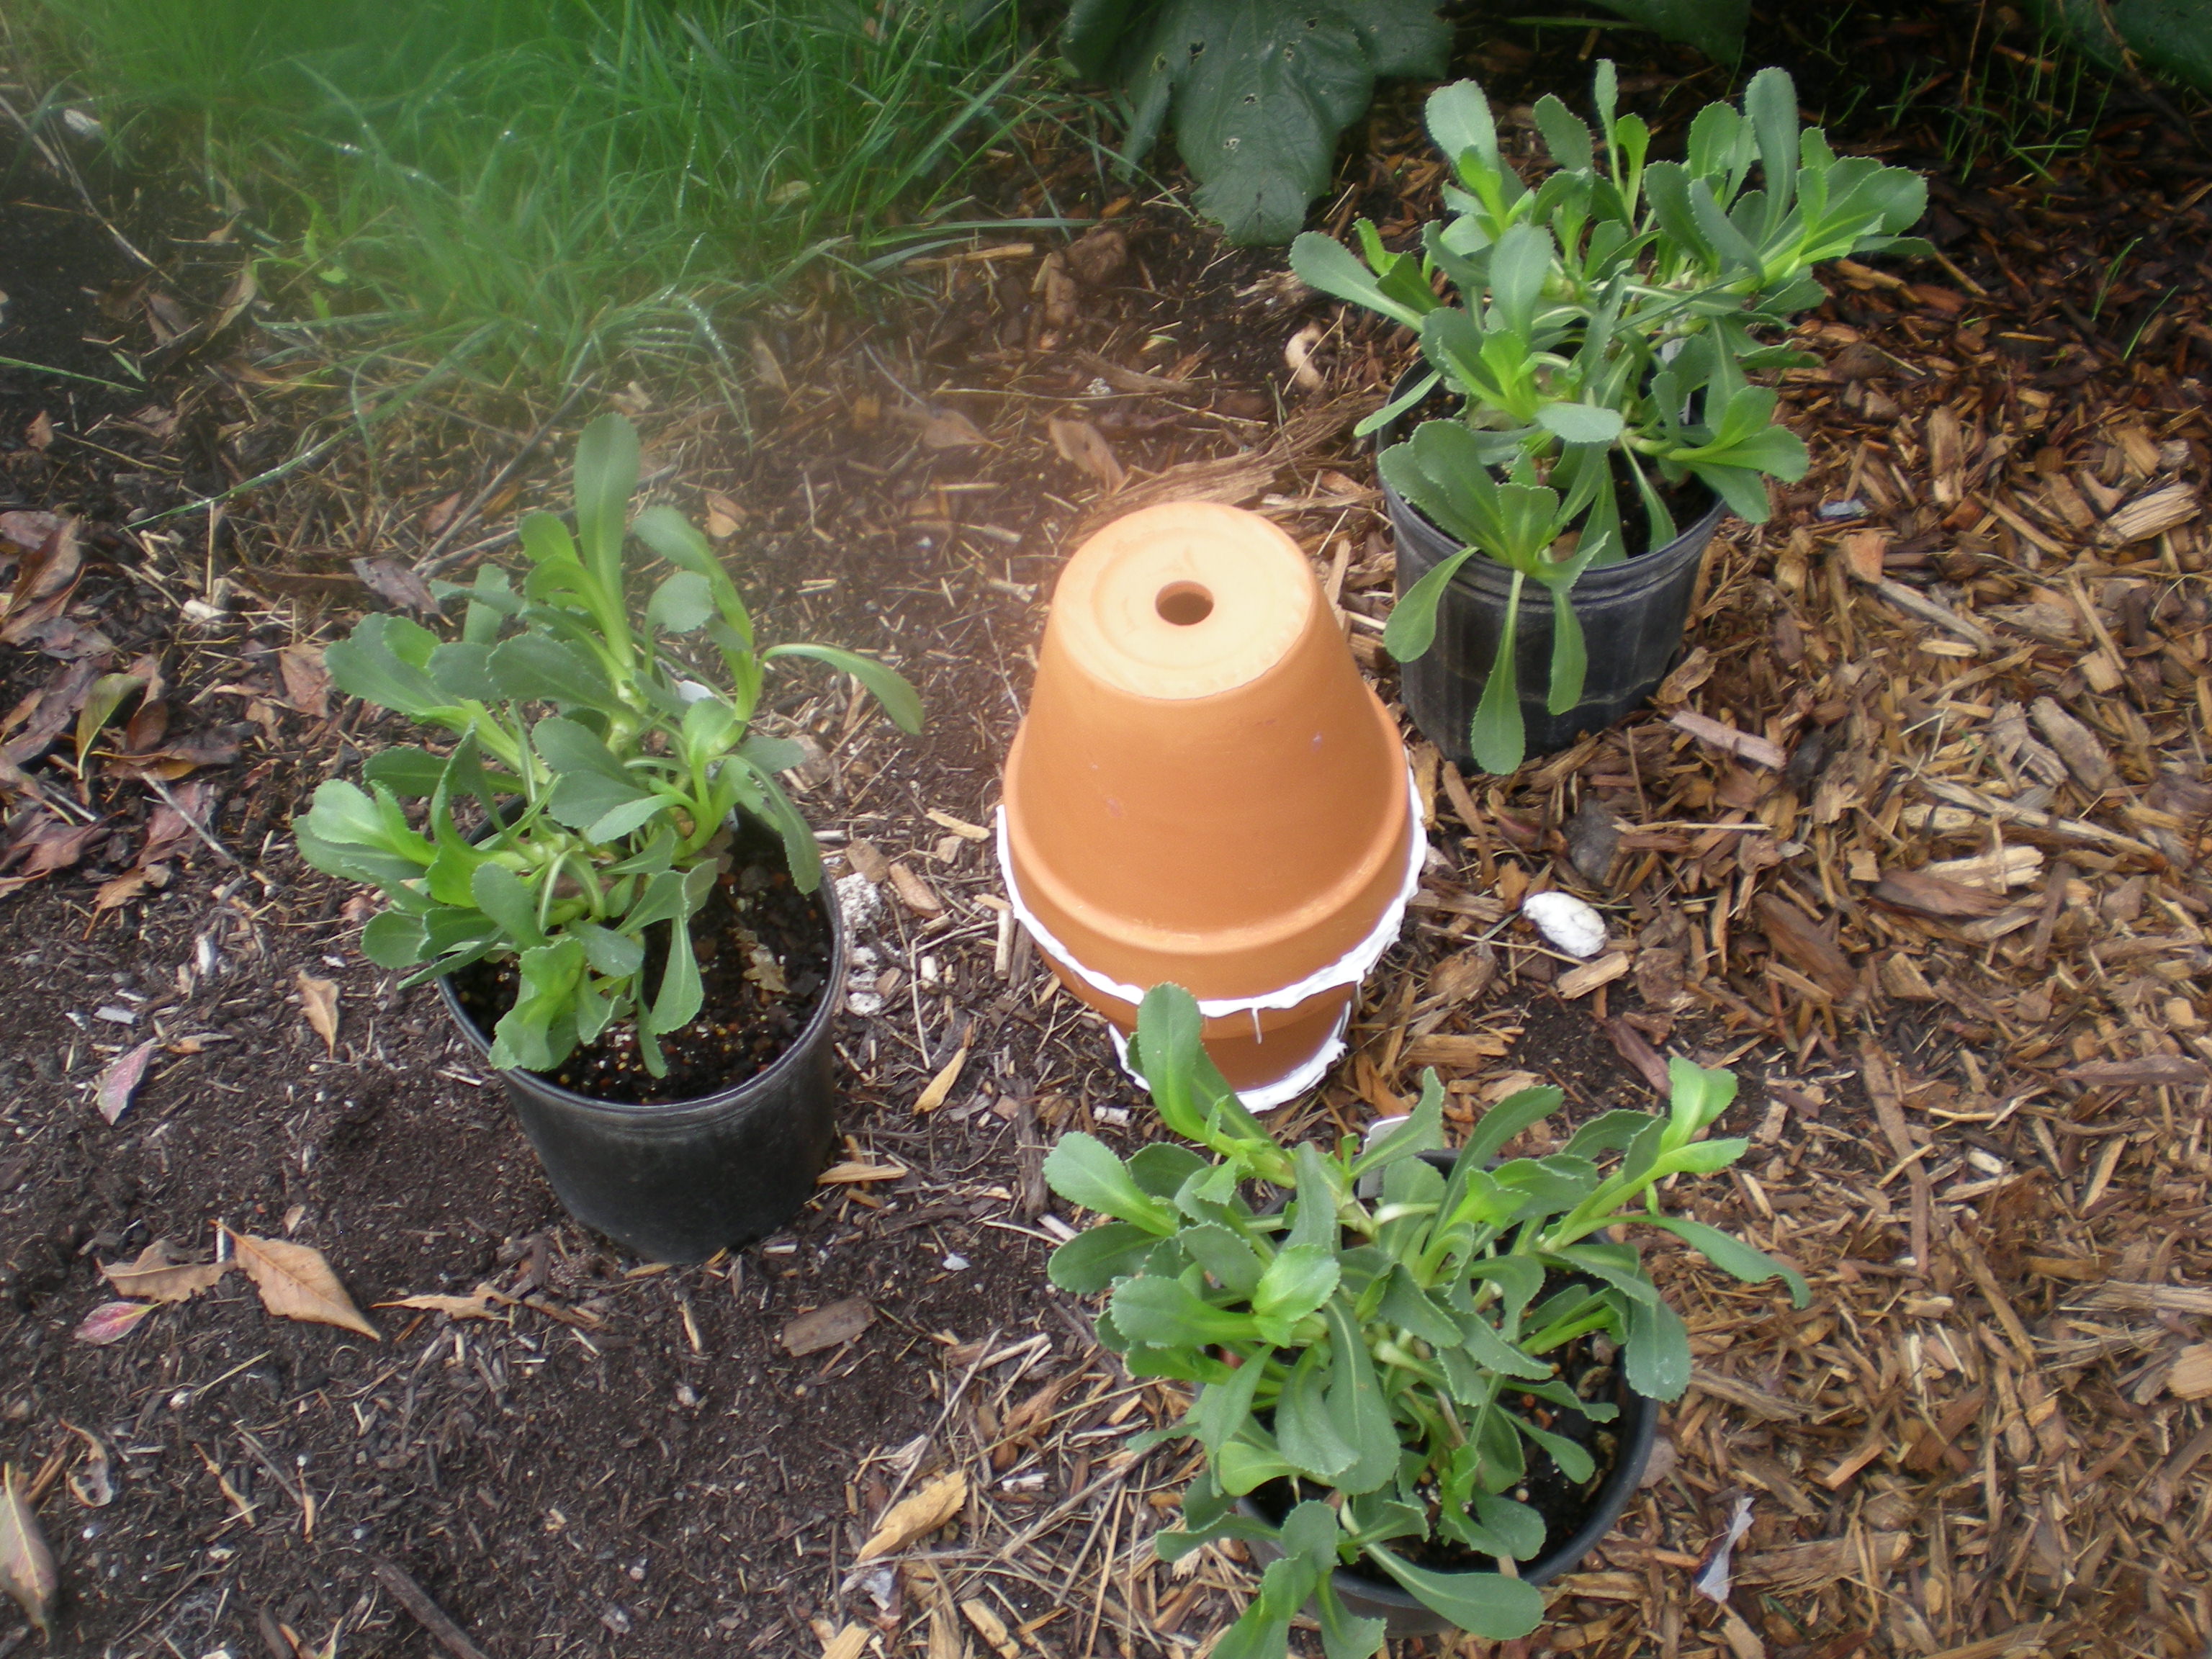
This weekend I set out to establish some additional areas of Yerba Buena and Woodland Strawberry. I also have a shady area where I am trying to establish Wild Ginger (Asarum caudatum) and Yerba de Selva (Whipplea modesta). There’s also a particularly dry area where I plan to try Mendocino Gum Plant (Grindelia stricta ssp. platyphylla) which attracts pollinators and has some medicinal uses. My oldest daughter who works at a nursery suggested that one.
With everything that I wanted to plant this weekend, it looked like four Ollas would be required to adequately irrigate them. I looked into purchasing them, and found that the going rate is $35-$50 each. This was a bit more than I wanted to spend on my weekend project.
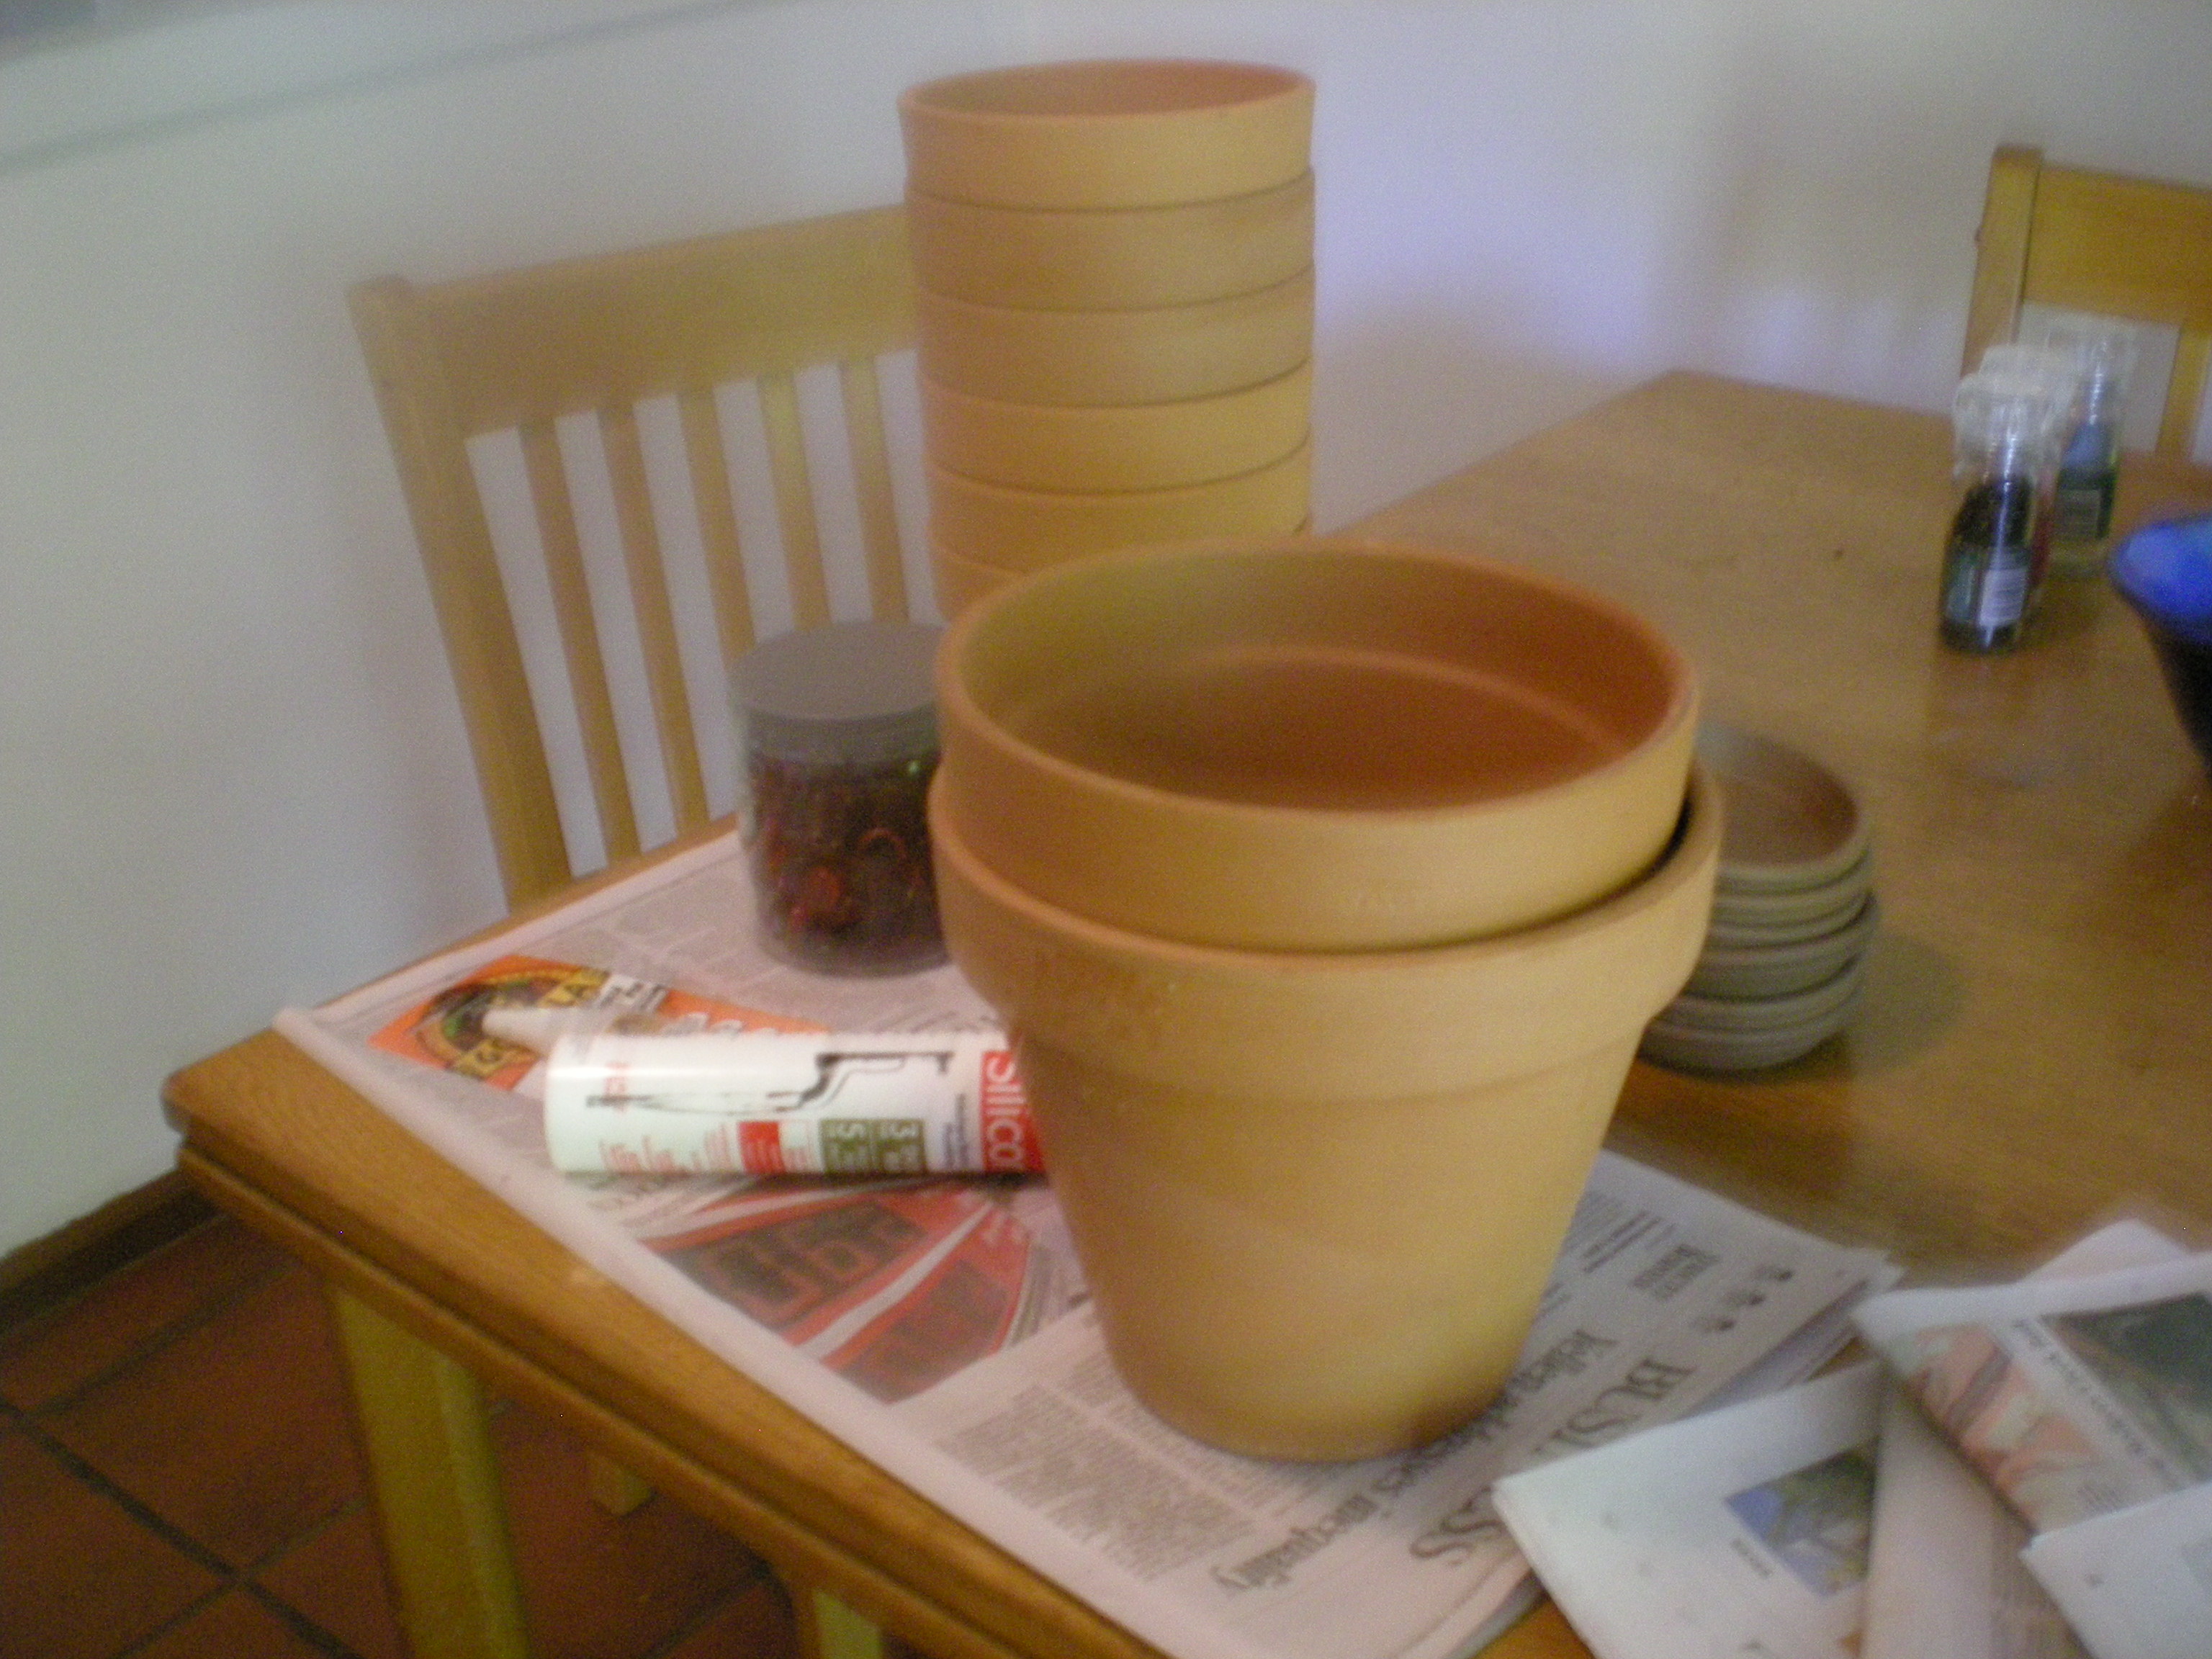
I performed more Google-fu and found this blog post on how to make Ollas from unglazed flower pots. I decided to give that a try. I gathered all the materials for a total cost of $50 to make four Ollas.
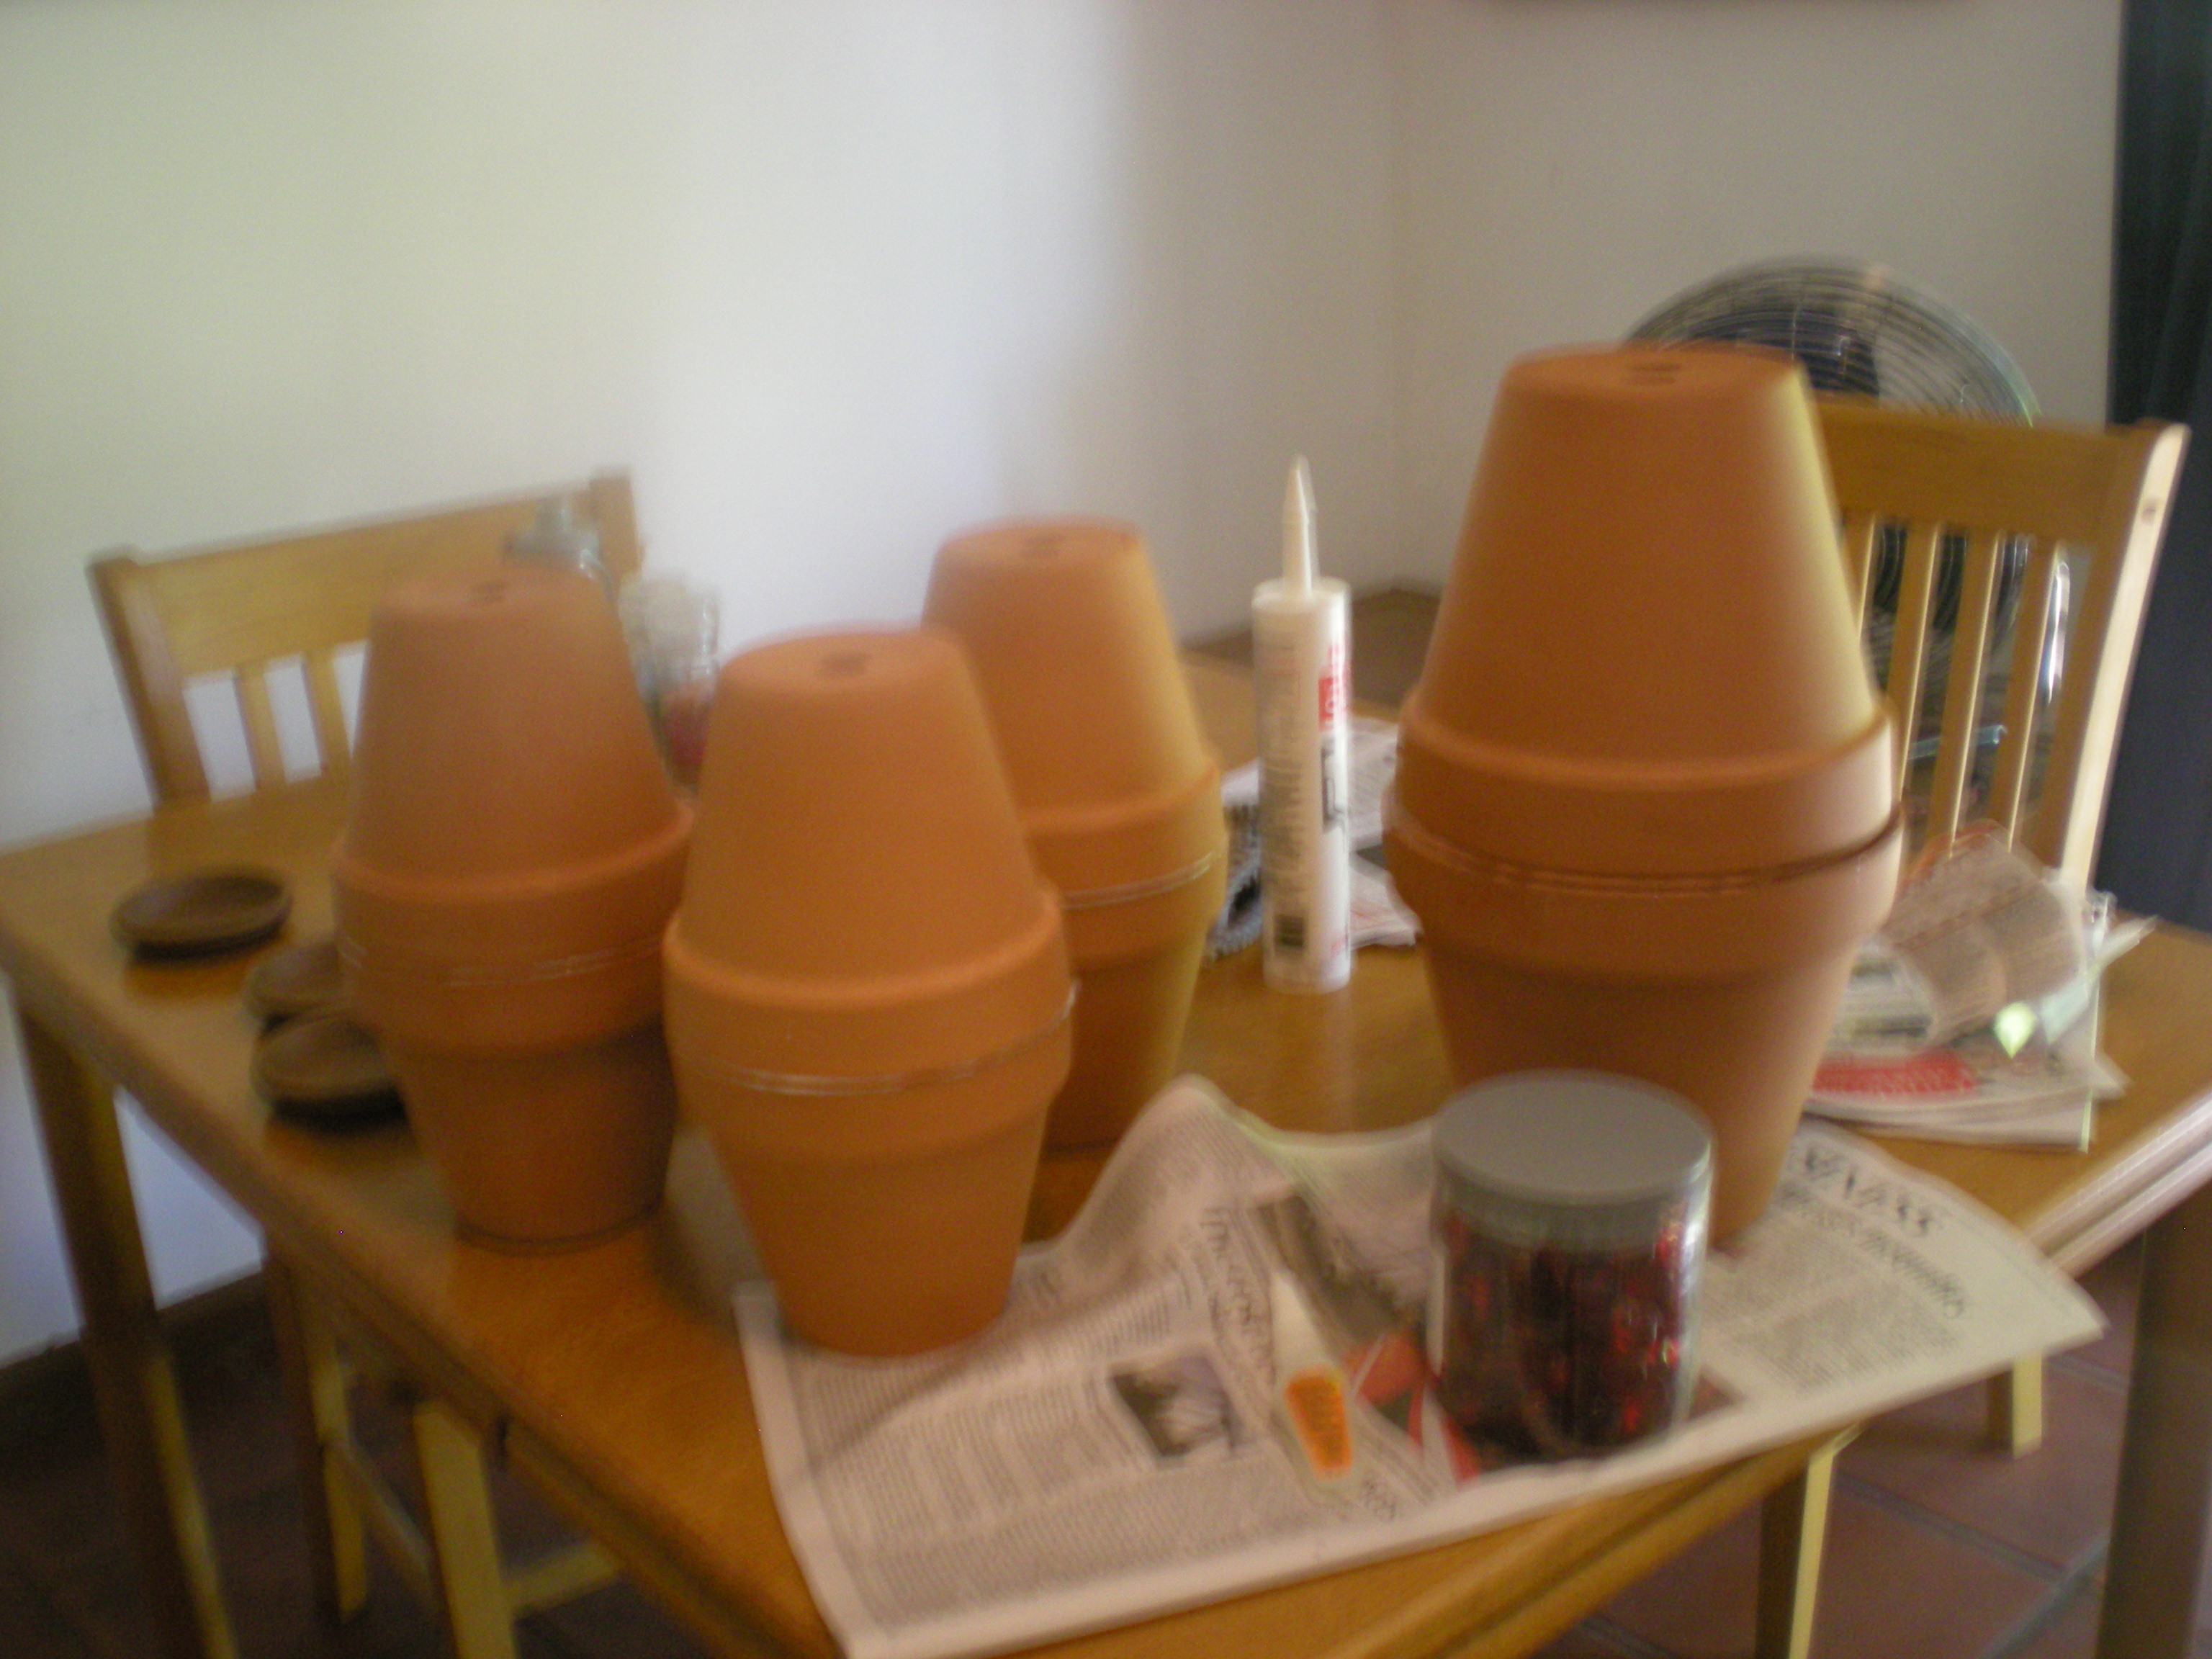
 This was my first time using Gorilla Glue and caulk. It was quite an adventure. Somehow I missed the statement on the Gorilla Glue instructions about it expanding 3-4 times! A little goes a long way!
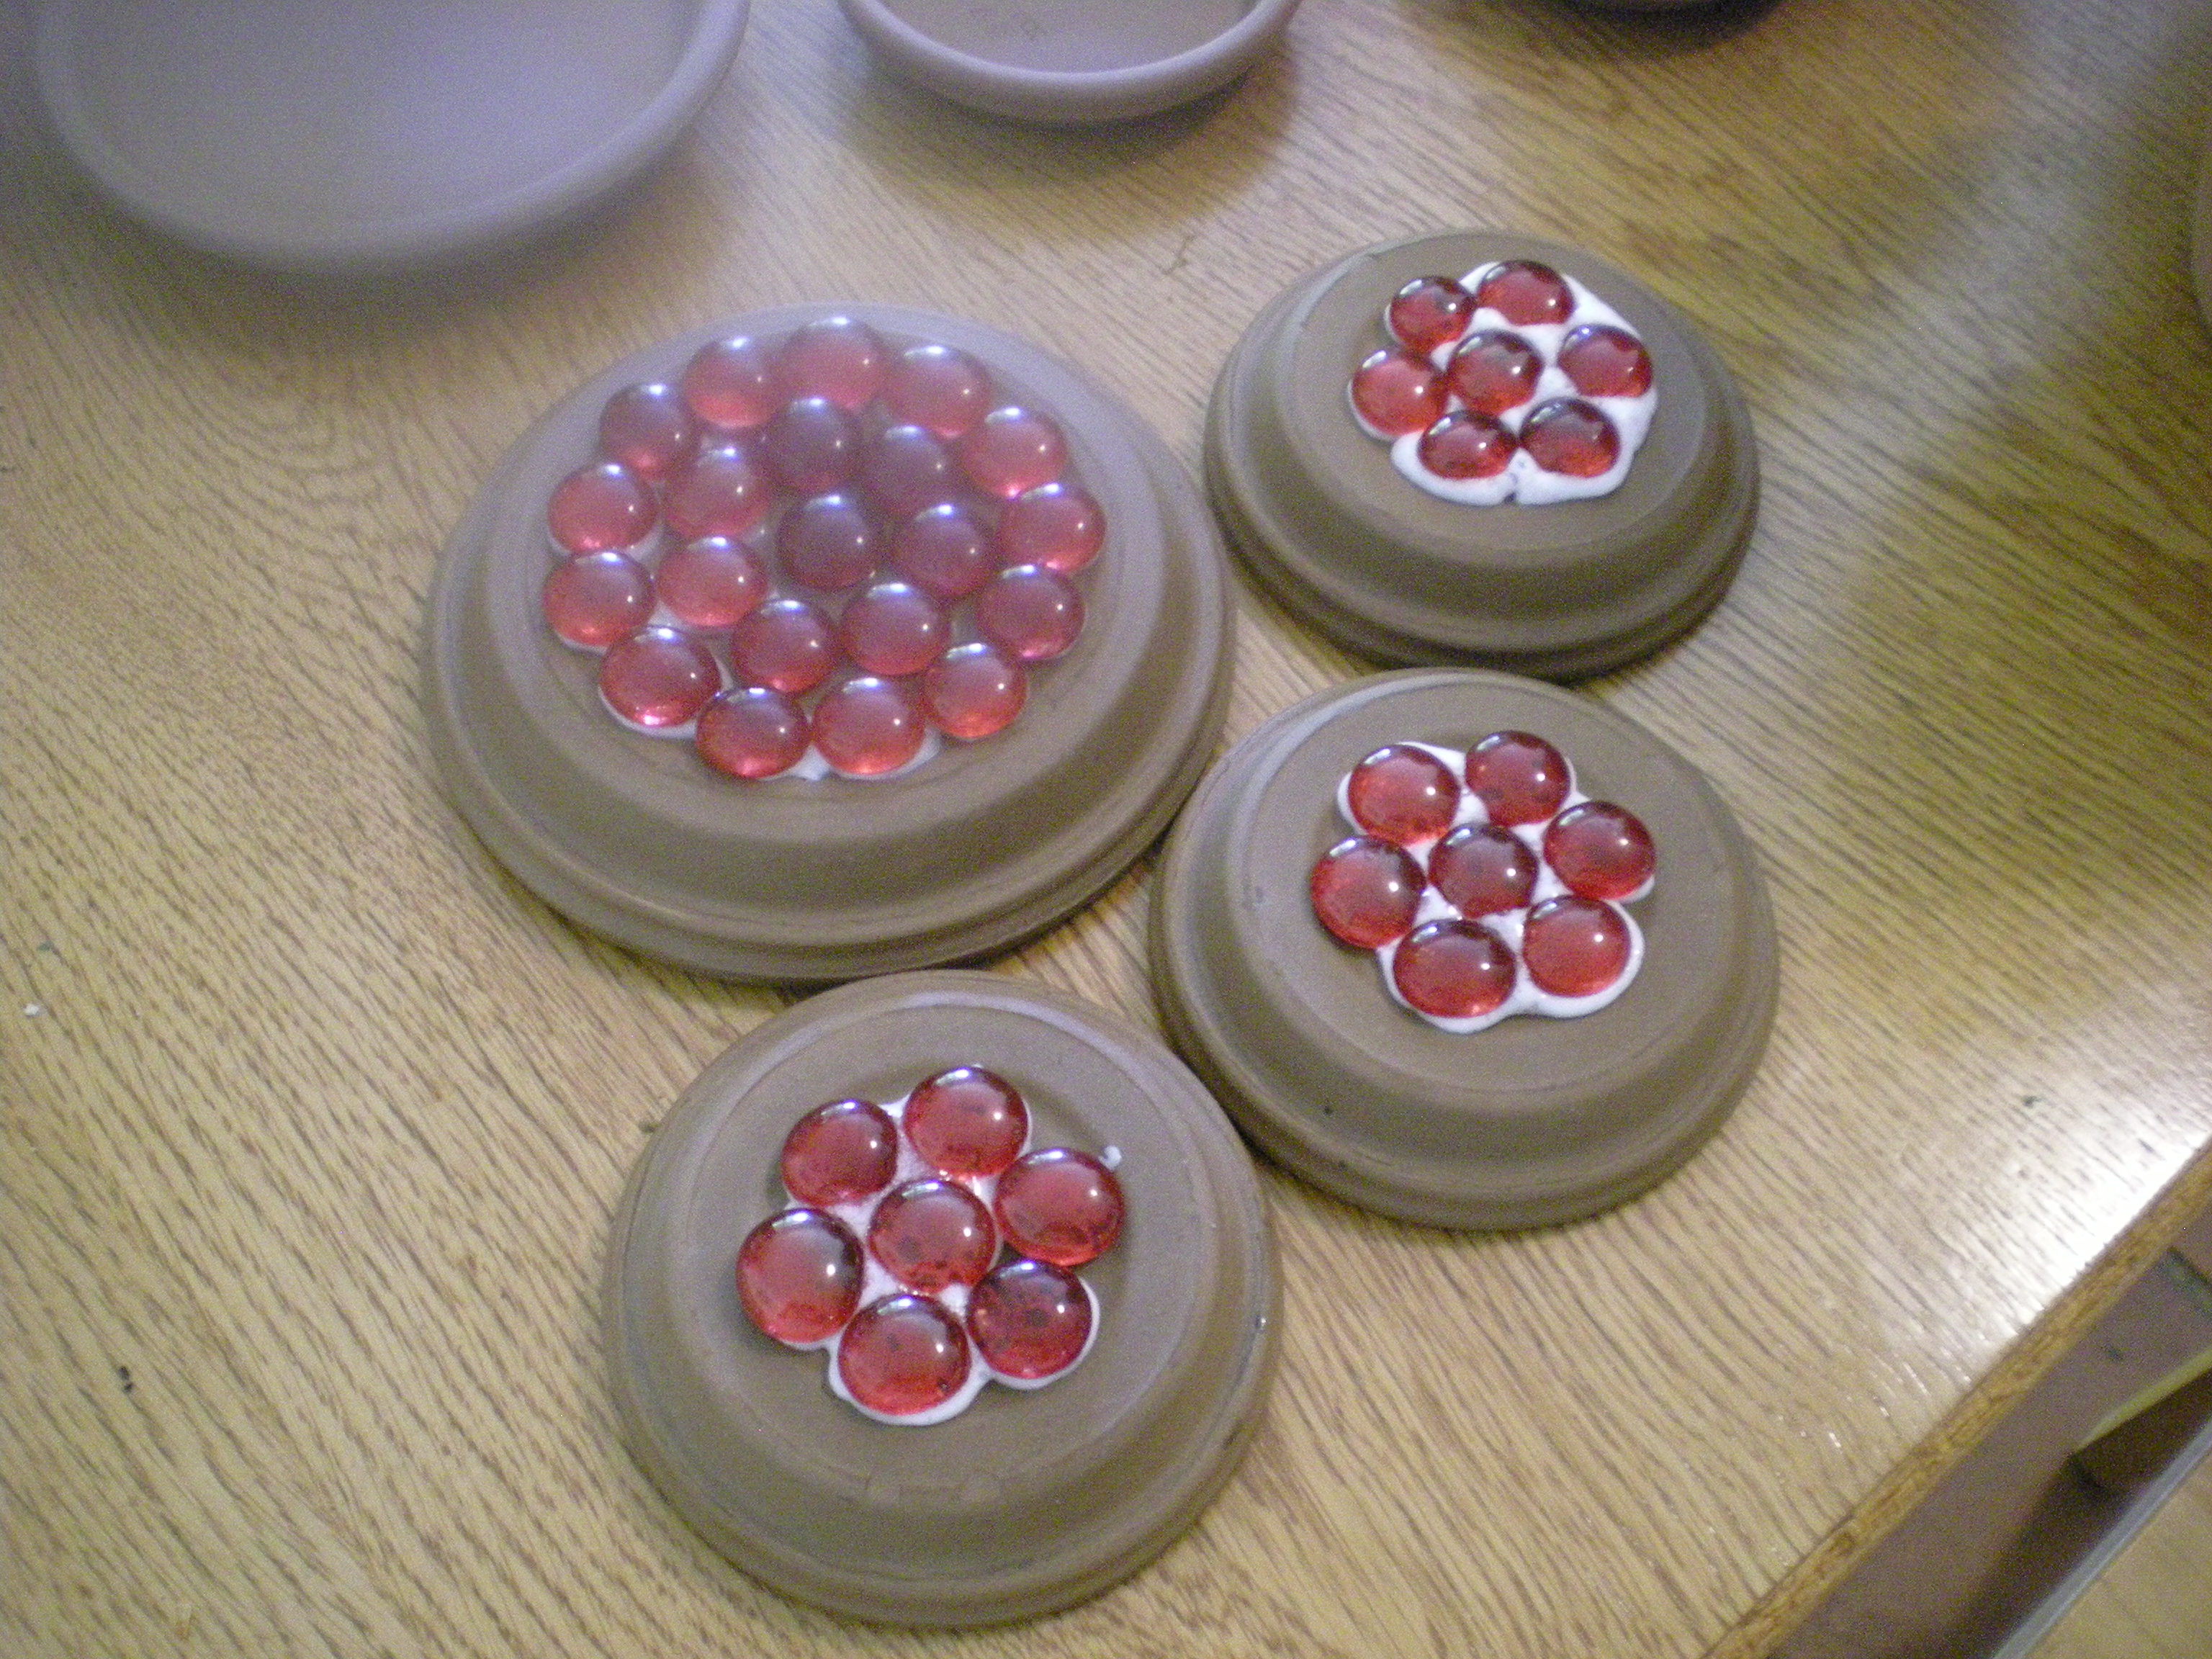
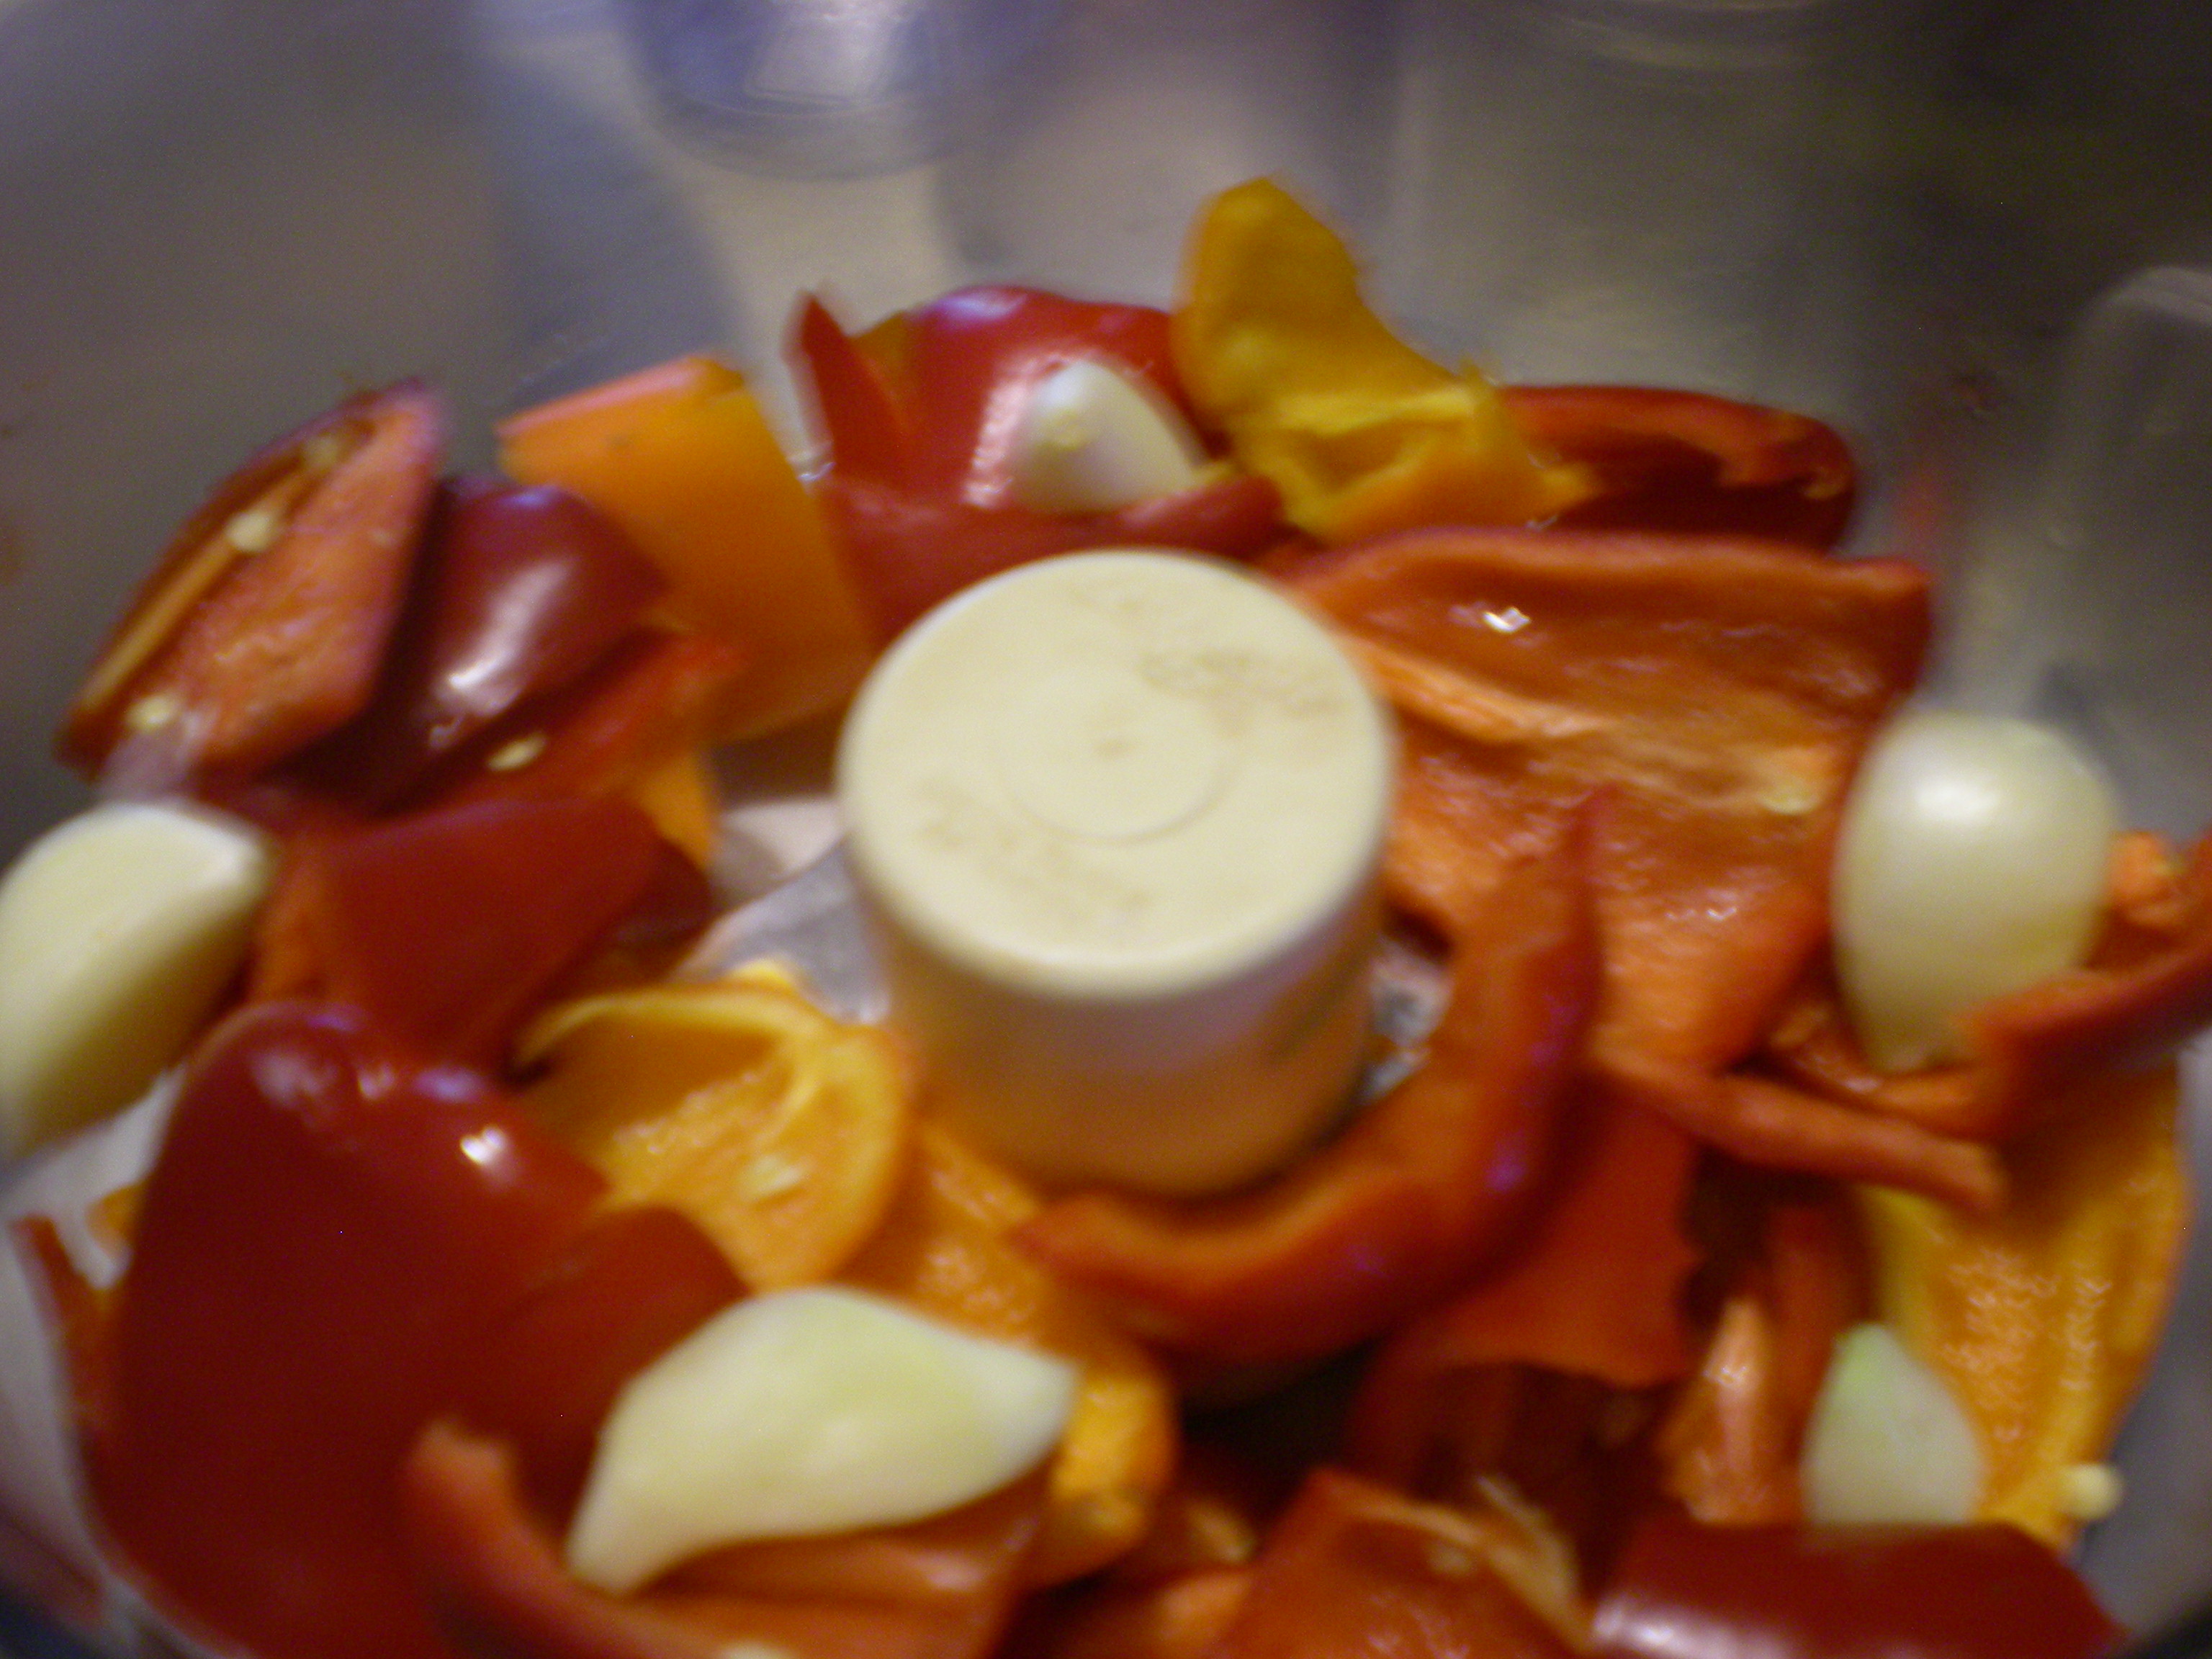
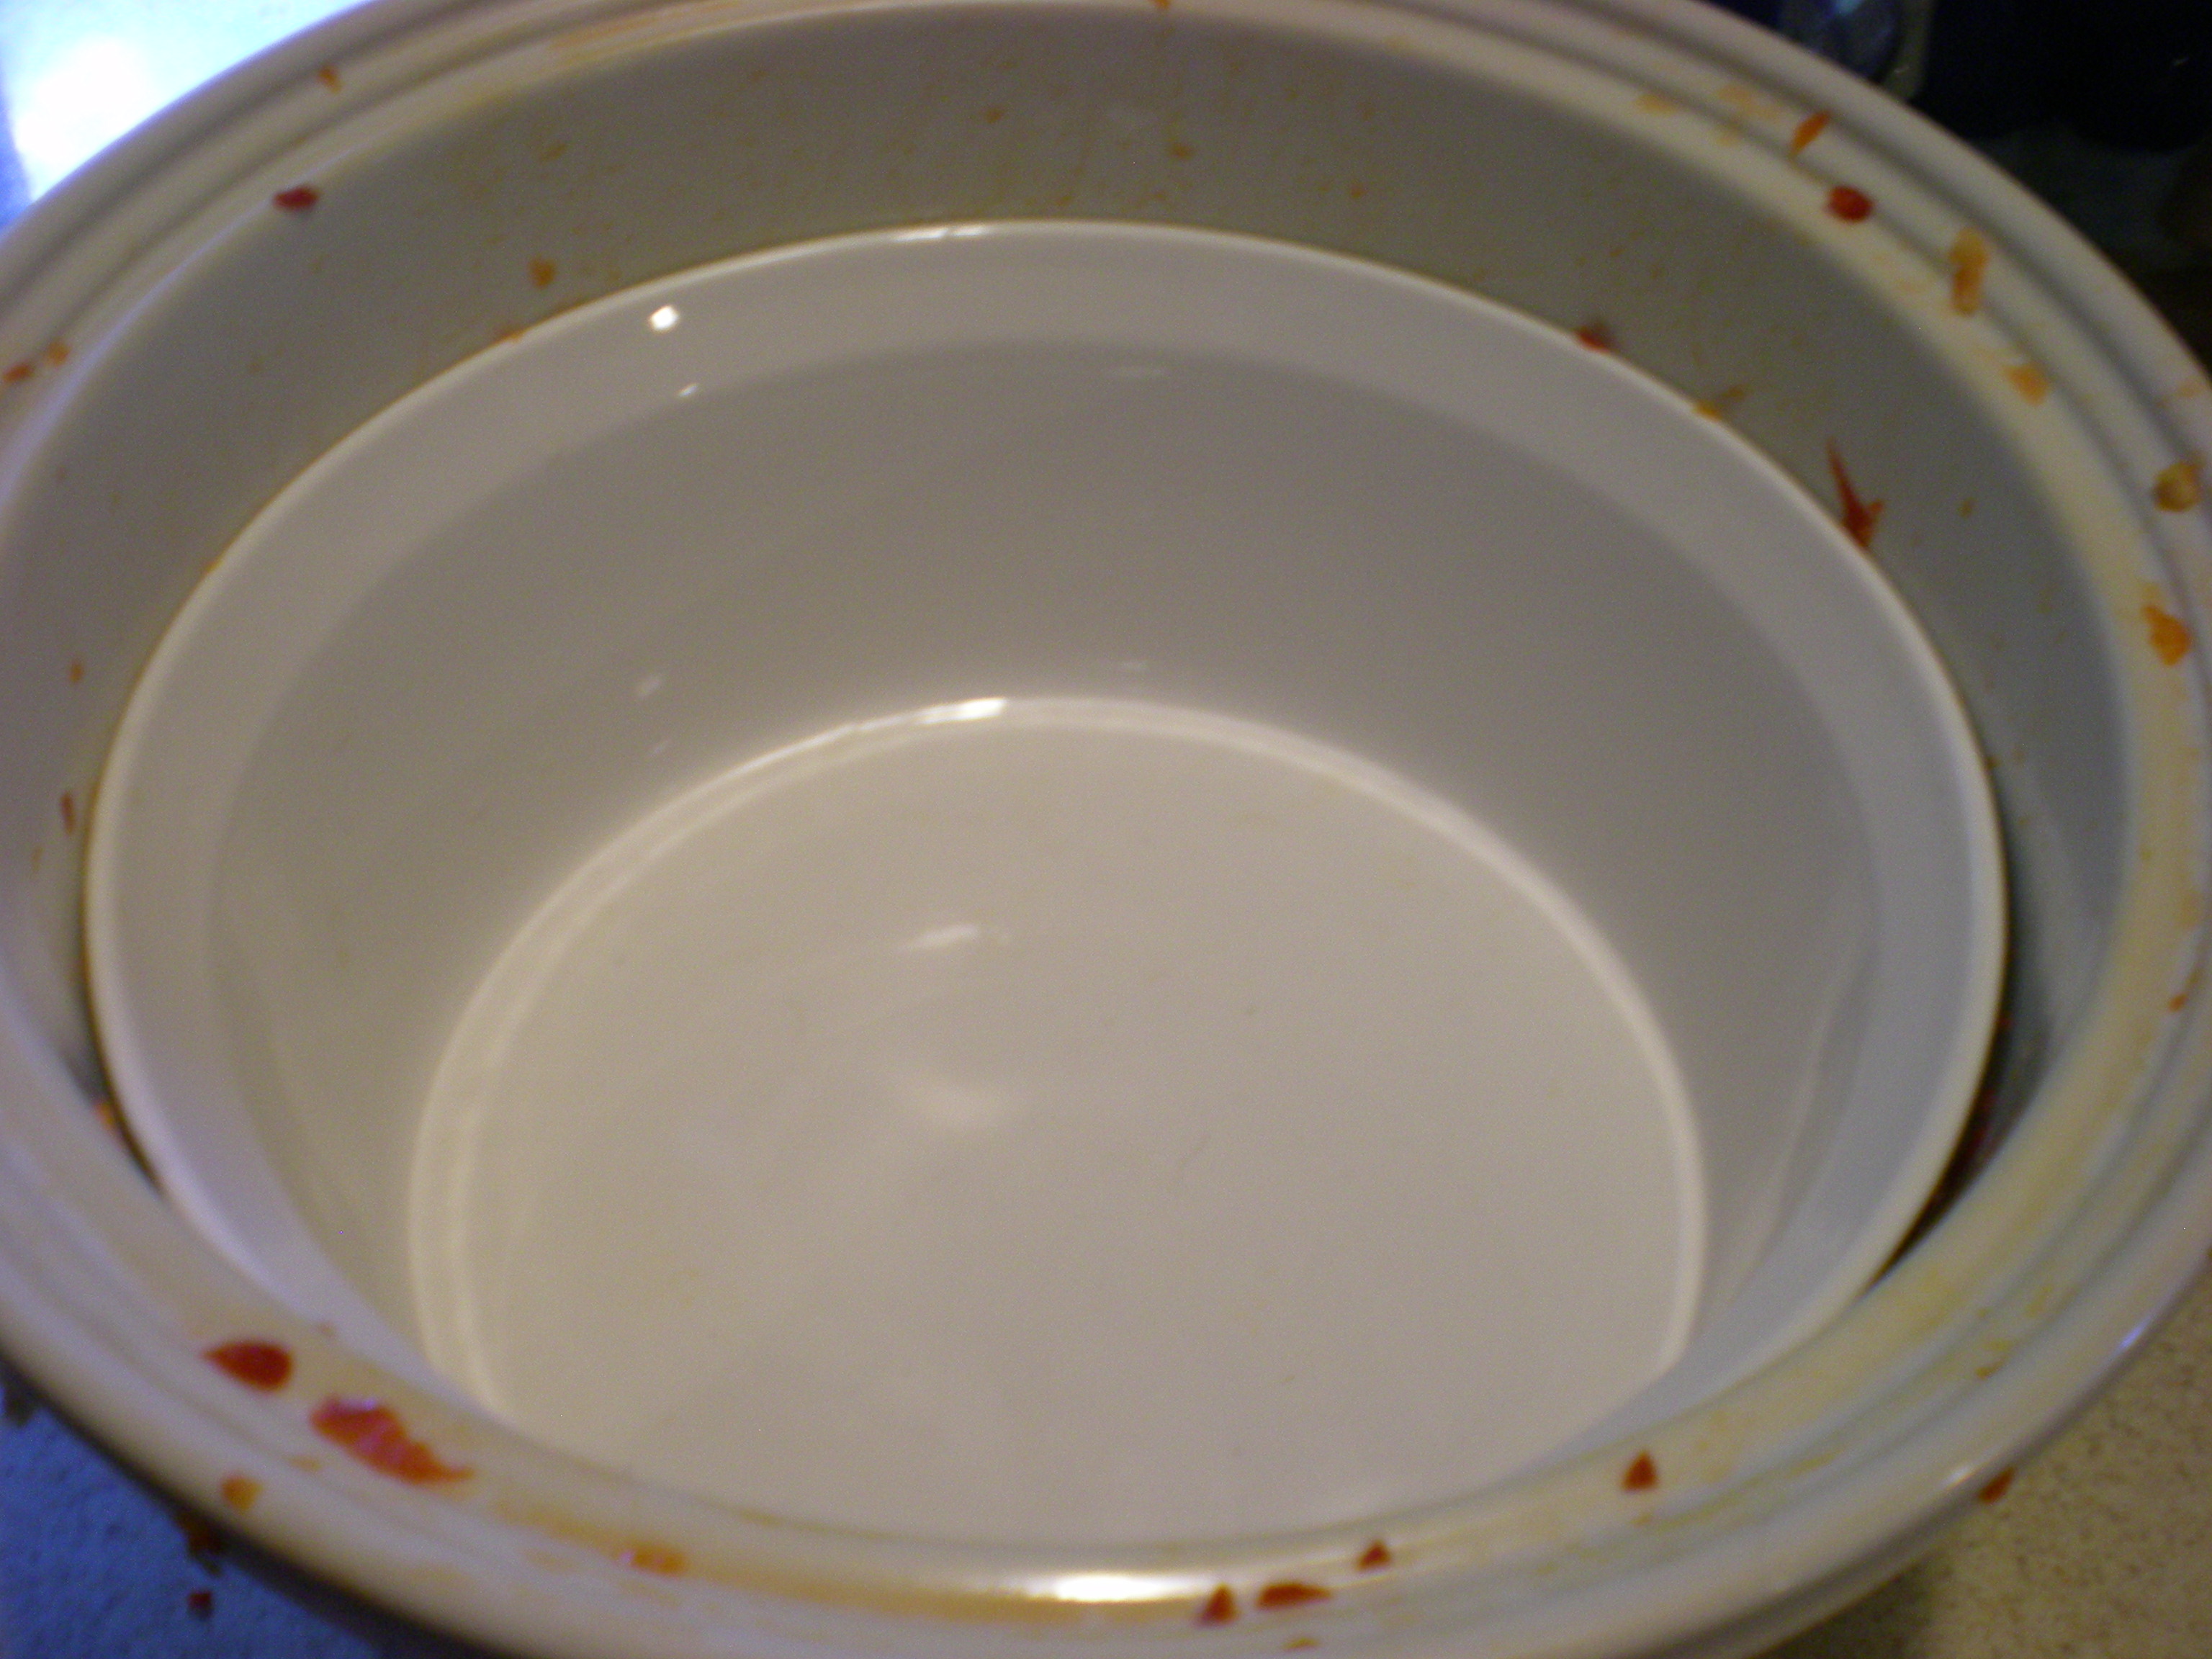
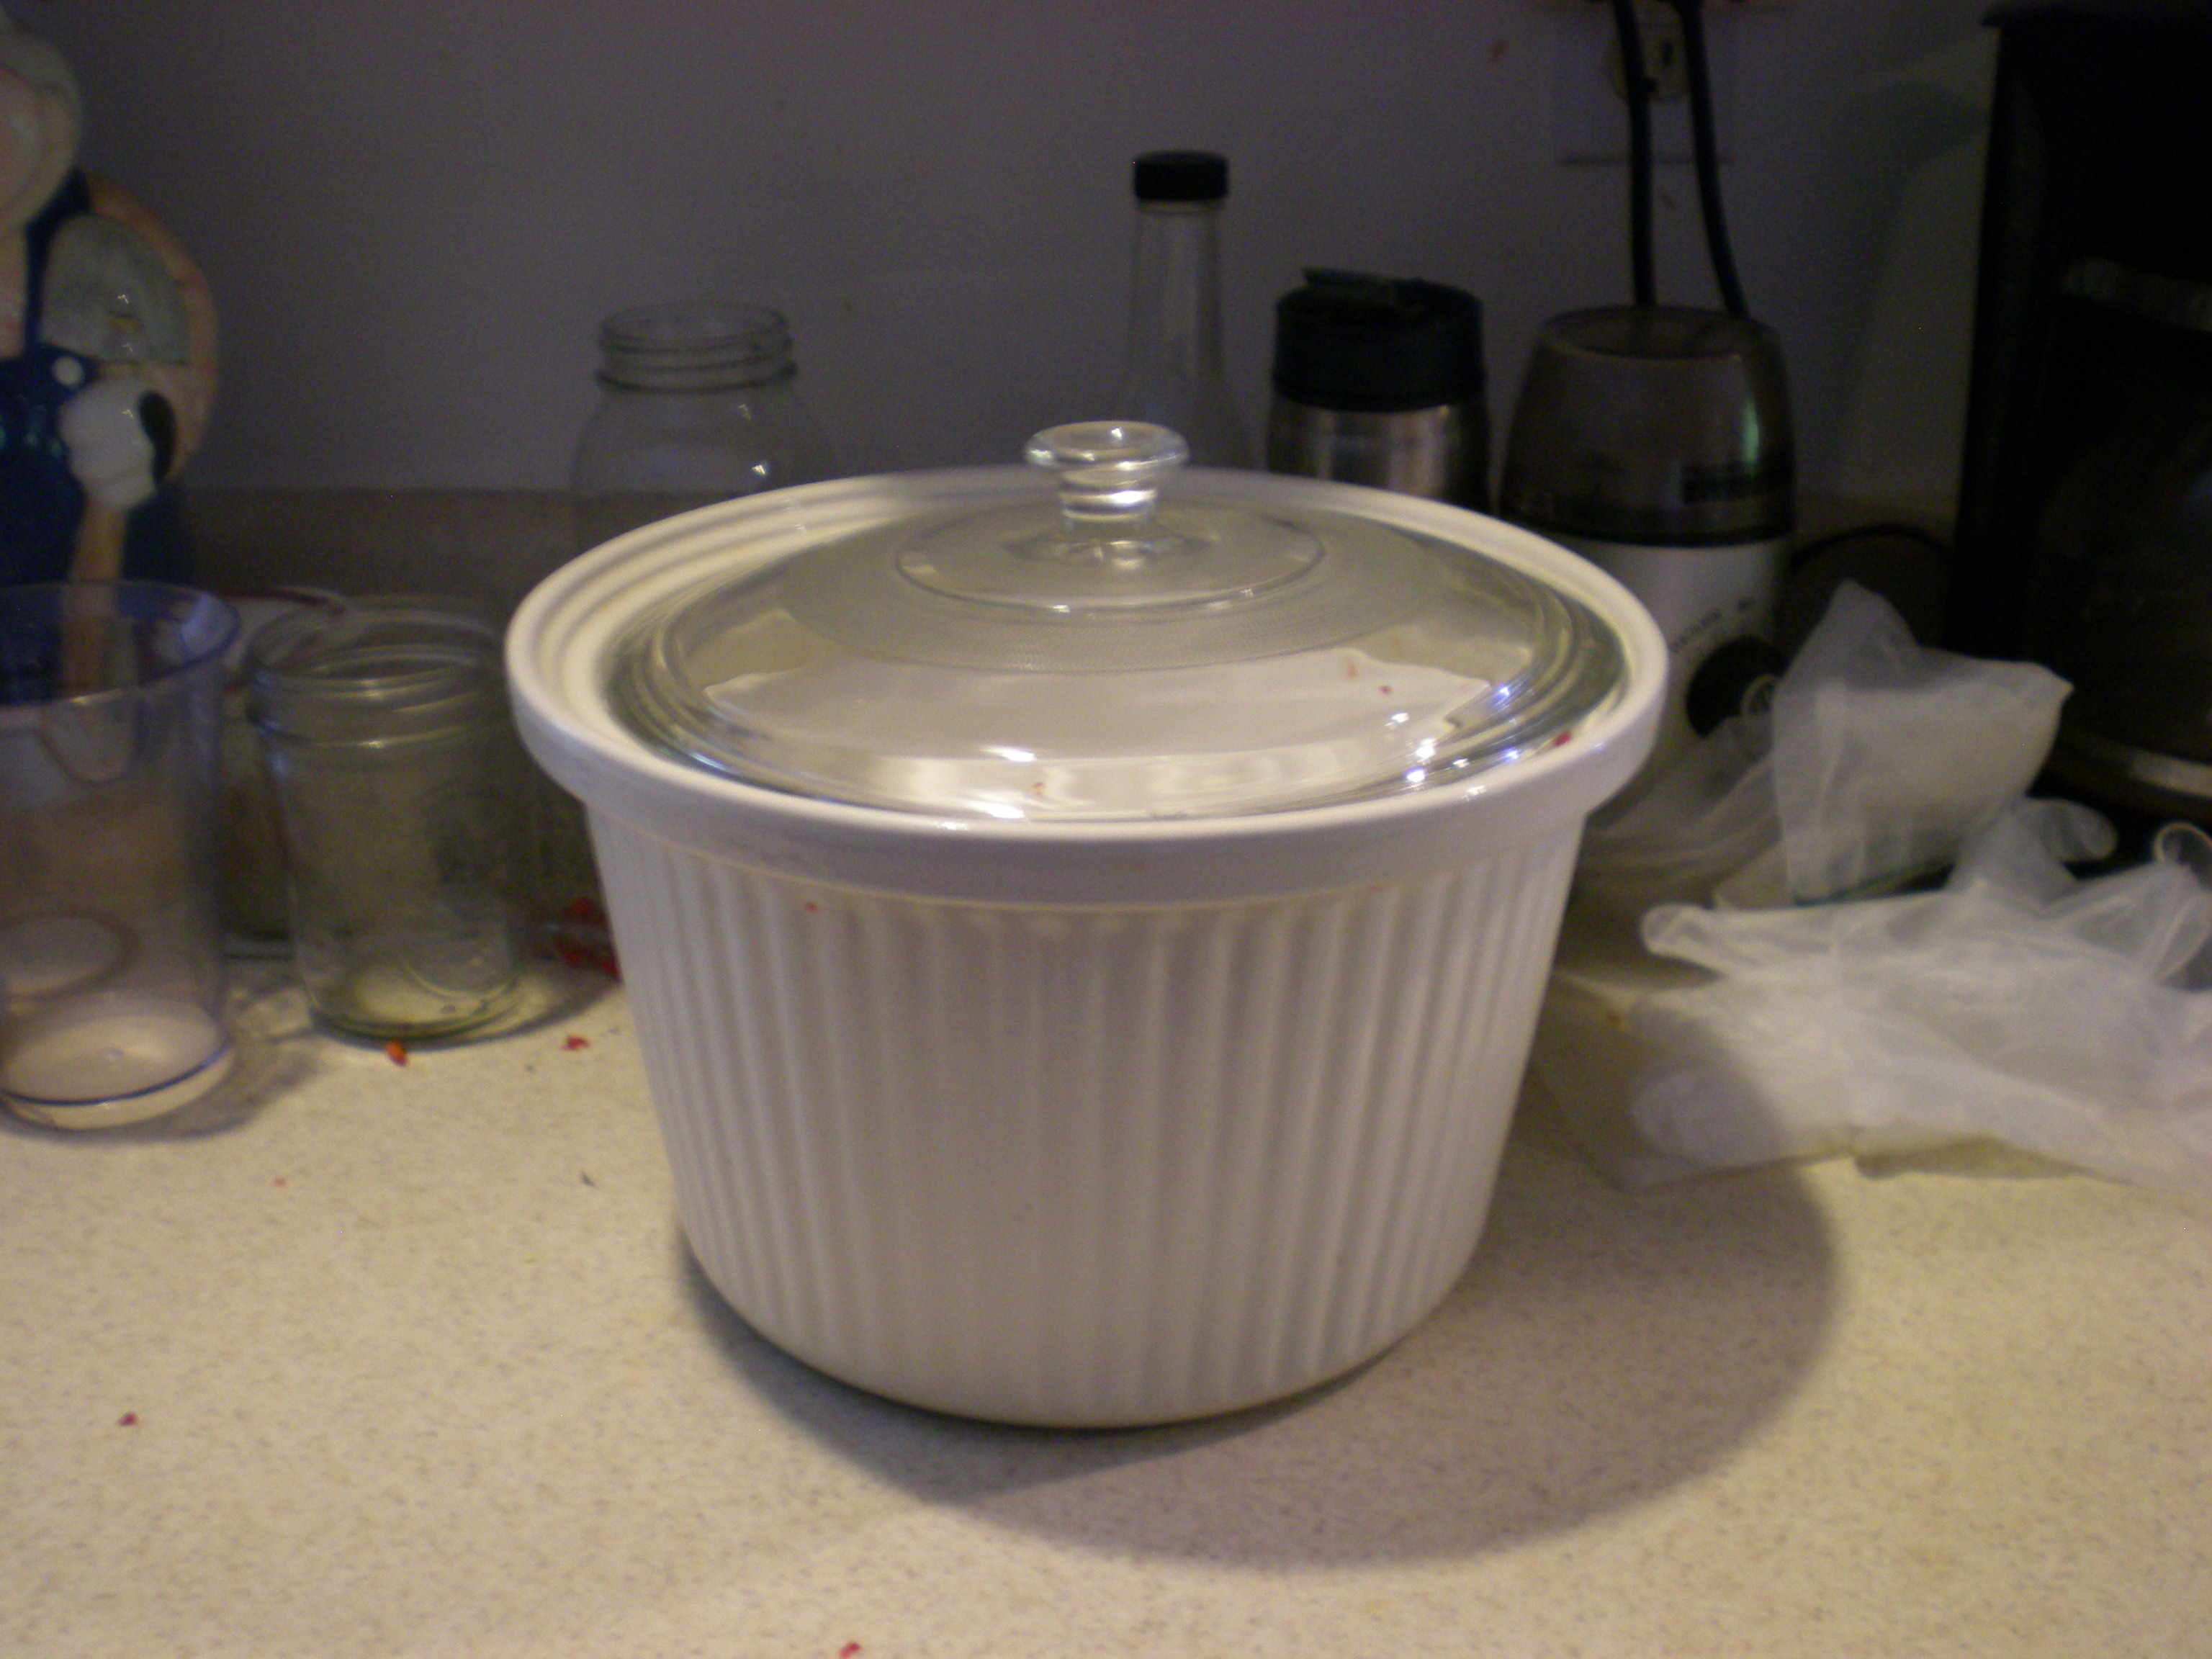
Here are a few photos of the construction process:

 I filled the Ollas with water and found a few spots that needed to be re-caulked. After the caulk had dried, I went out into the yard and laid out the plants and the Ollas so I could see where the holes needed to be dug.

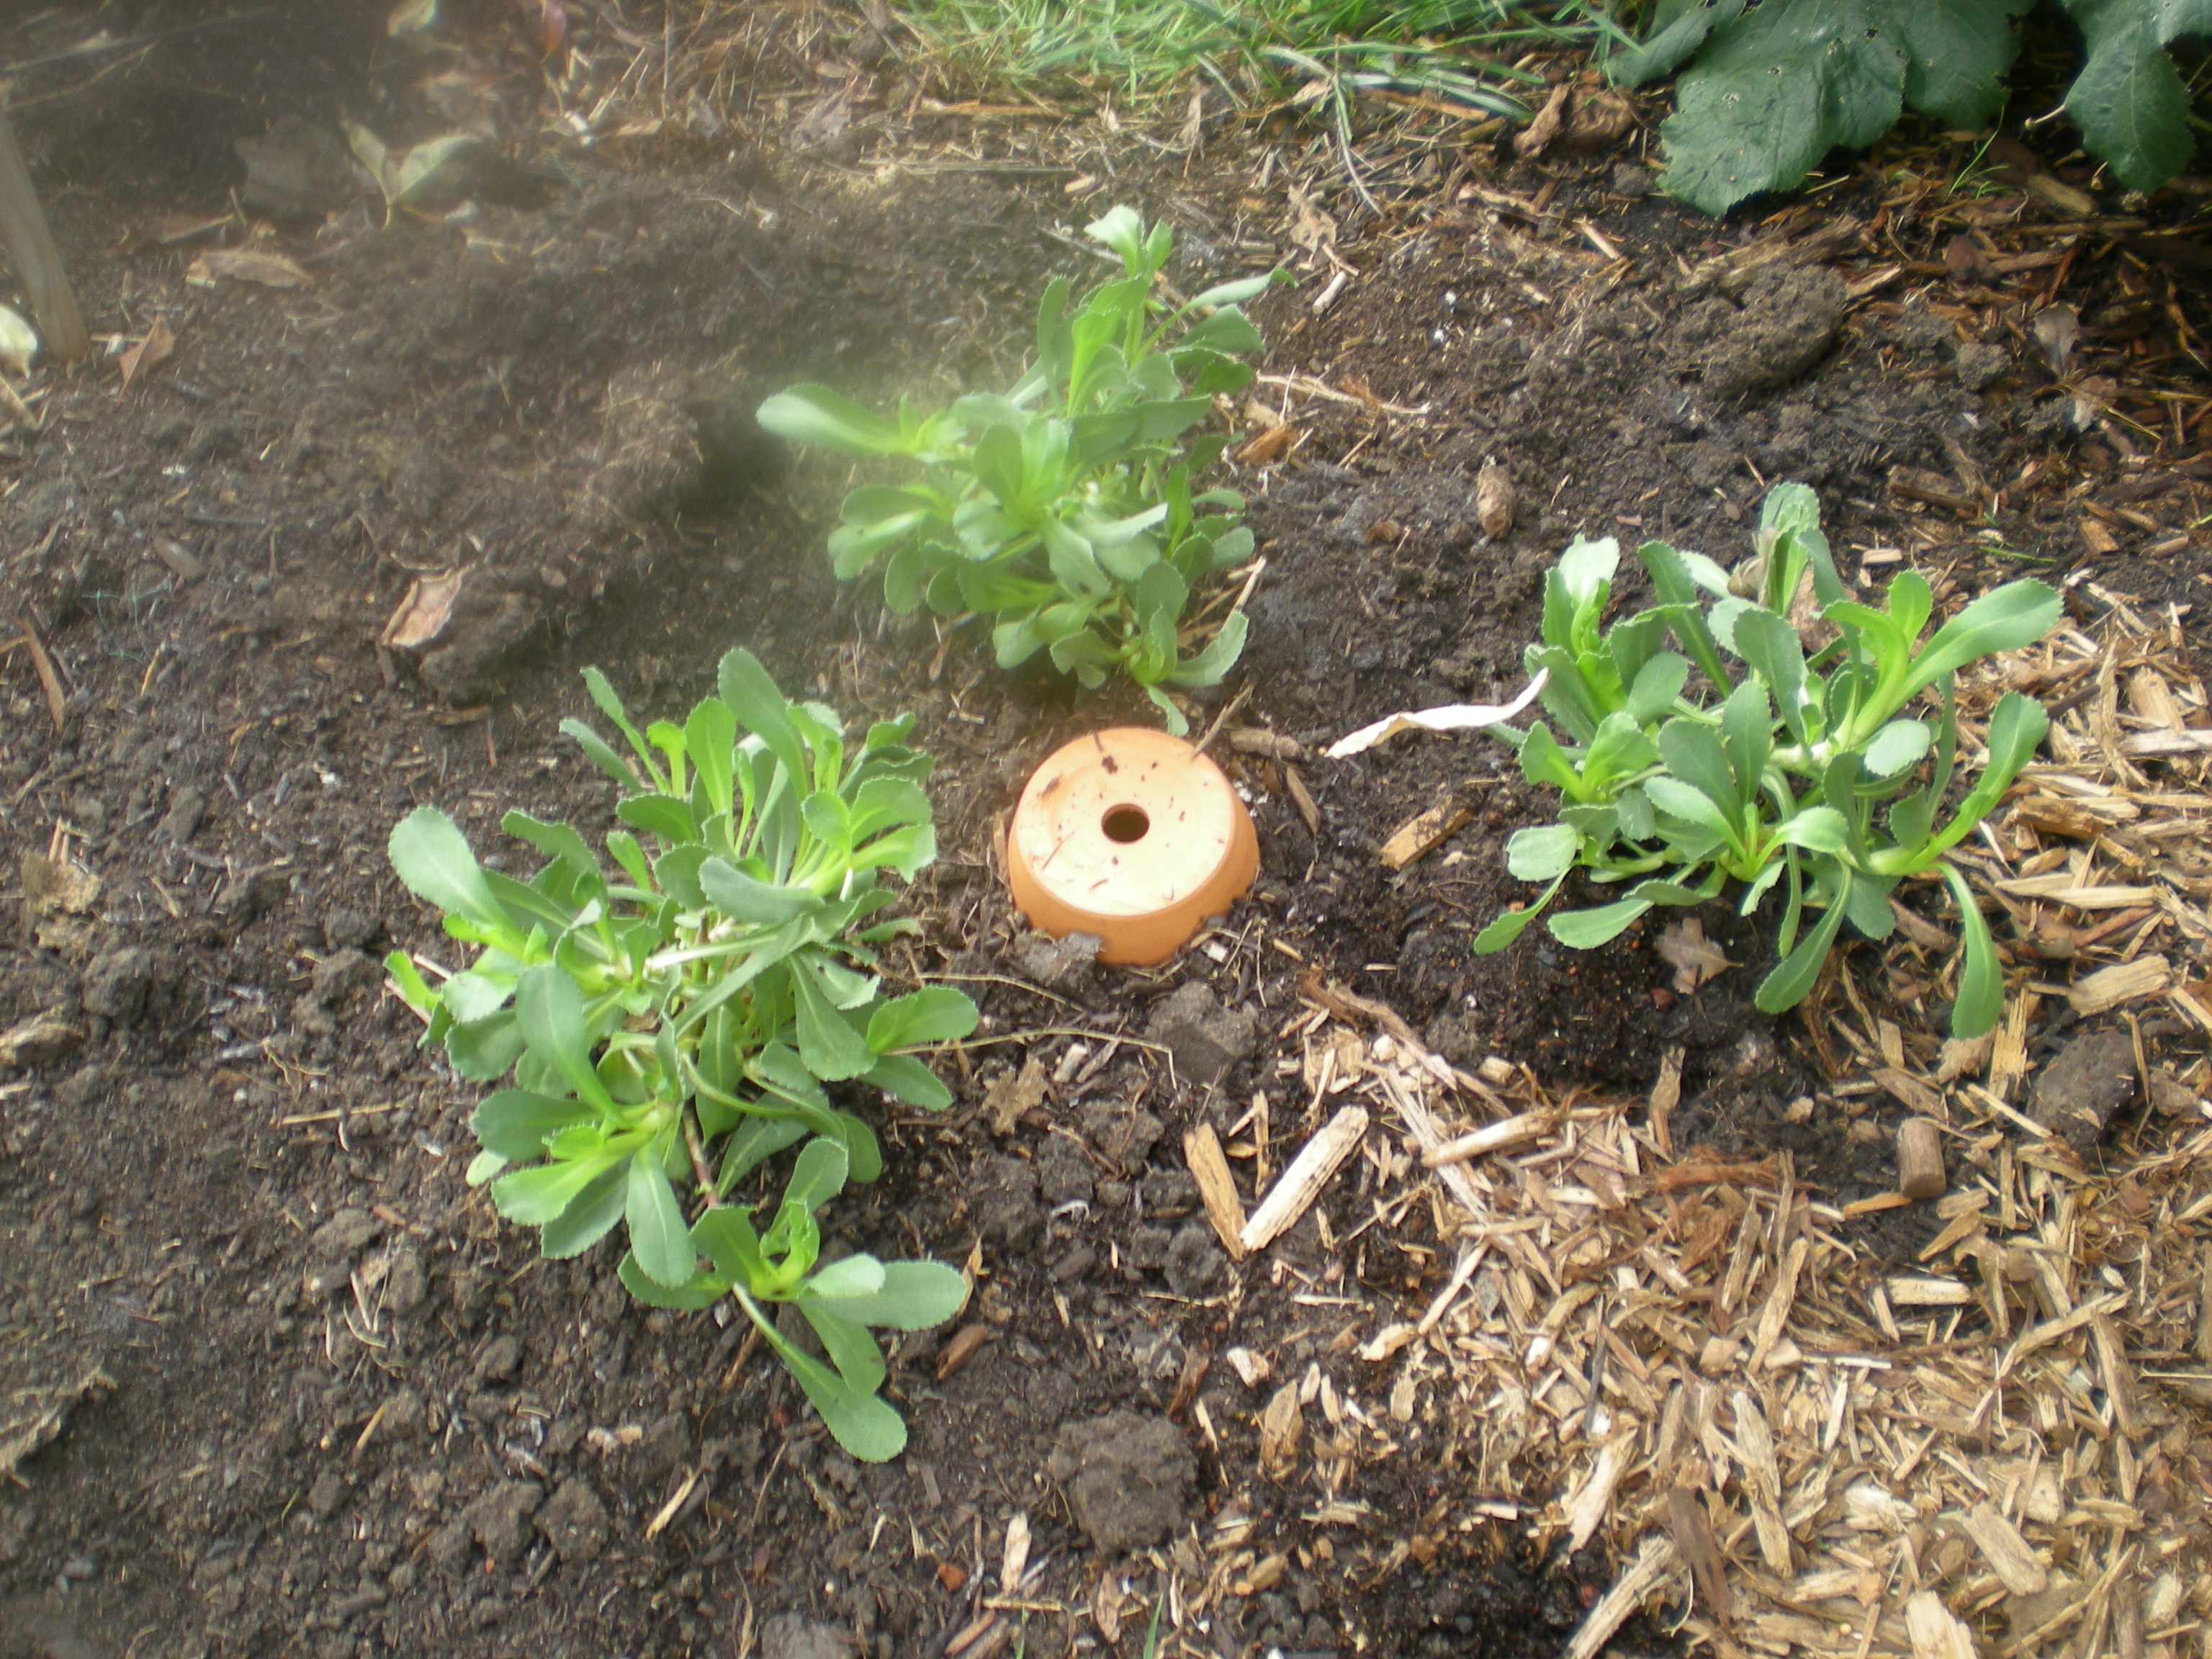
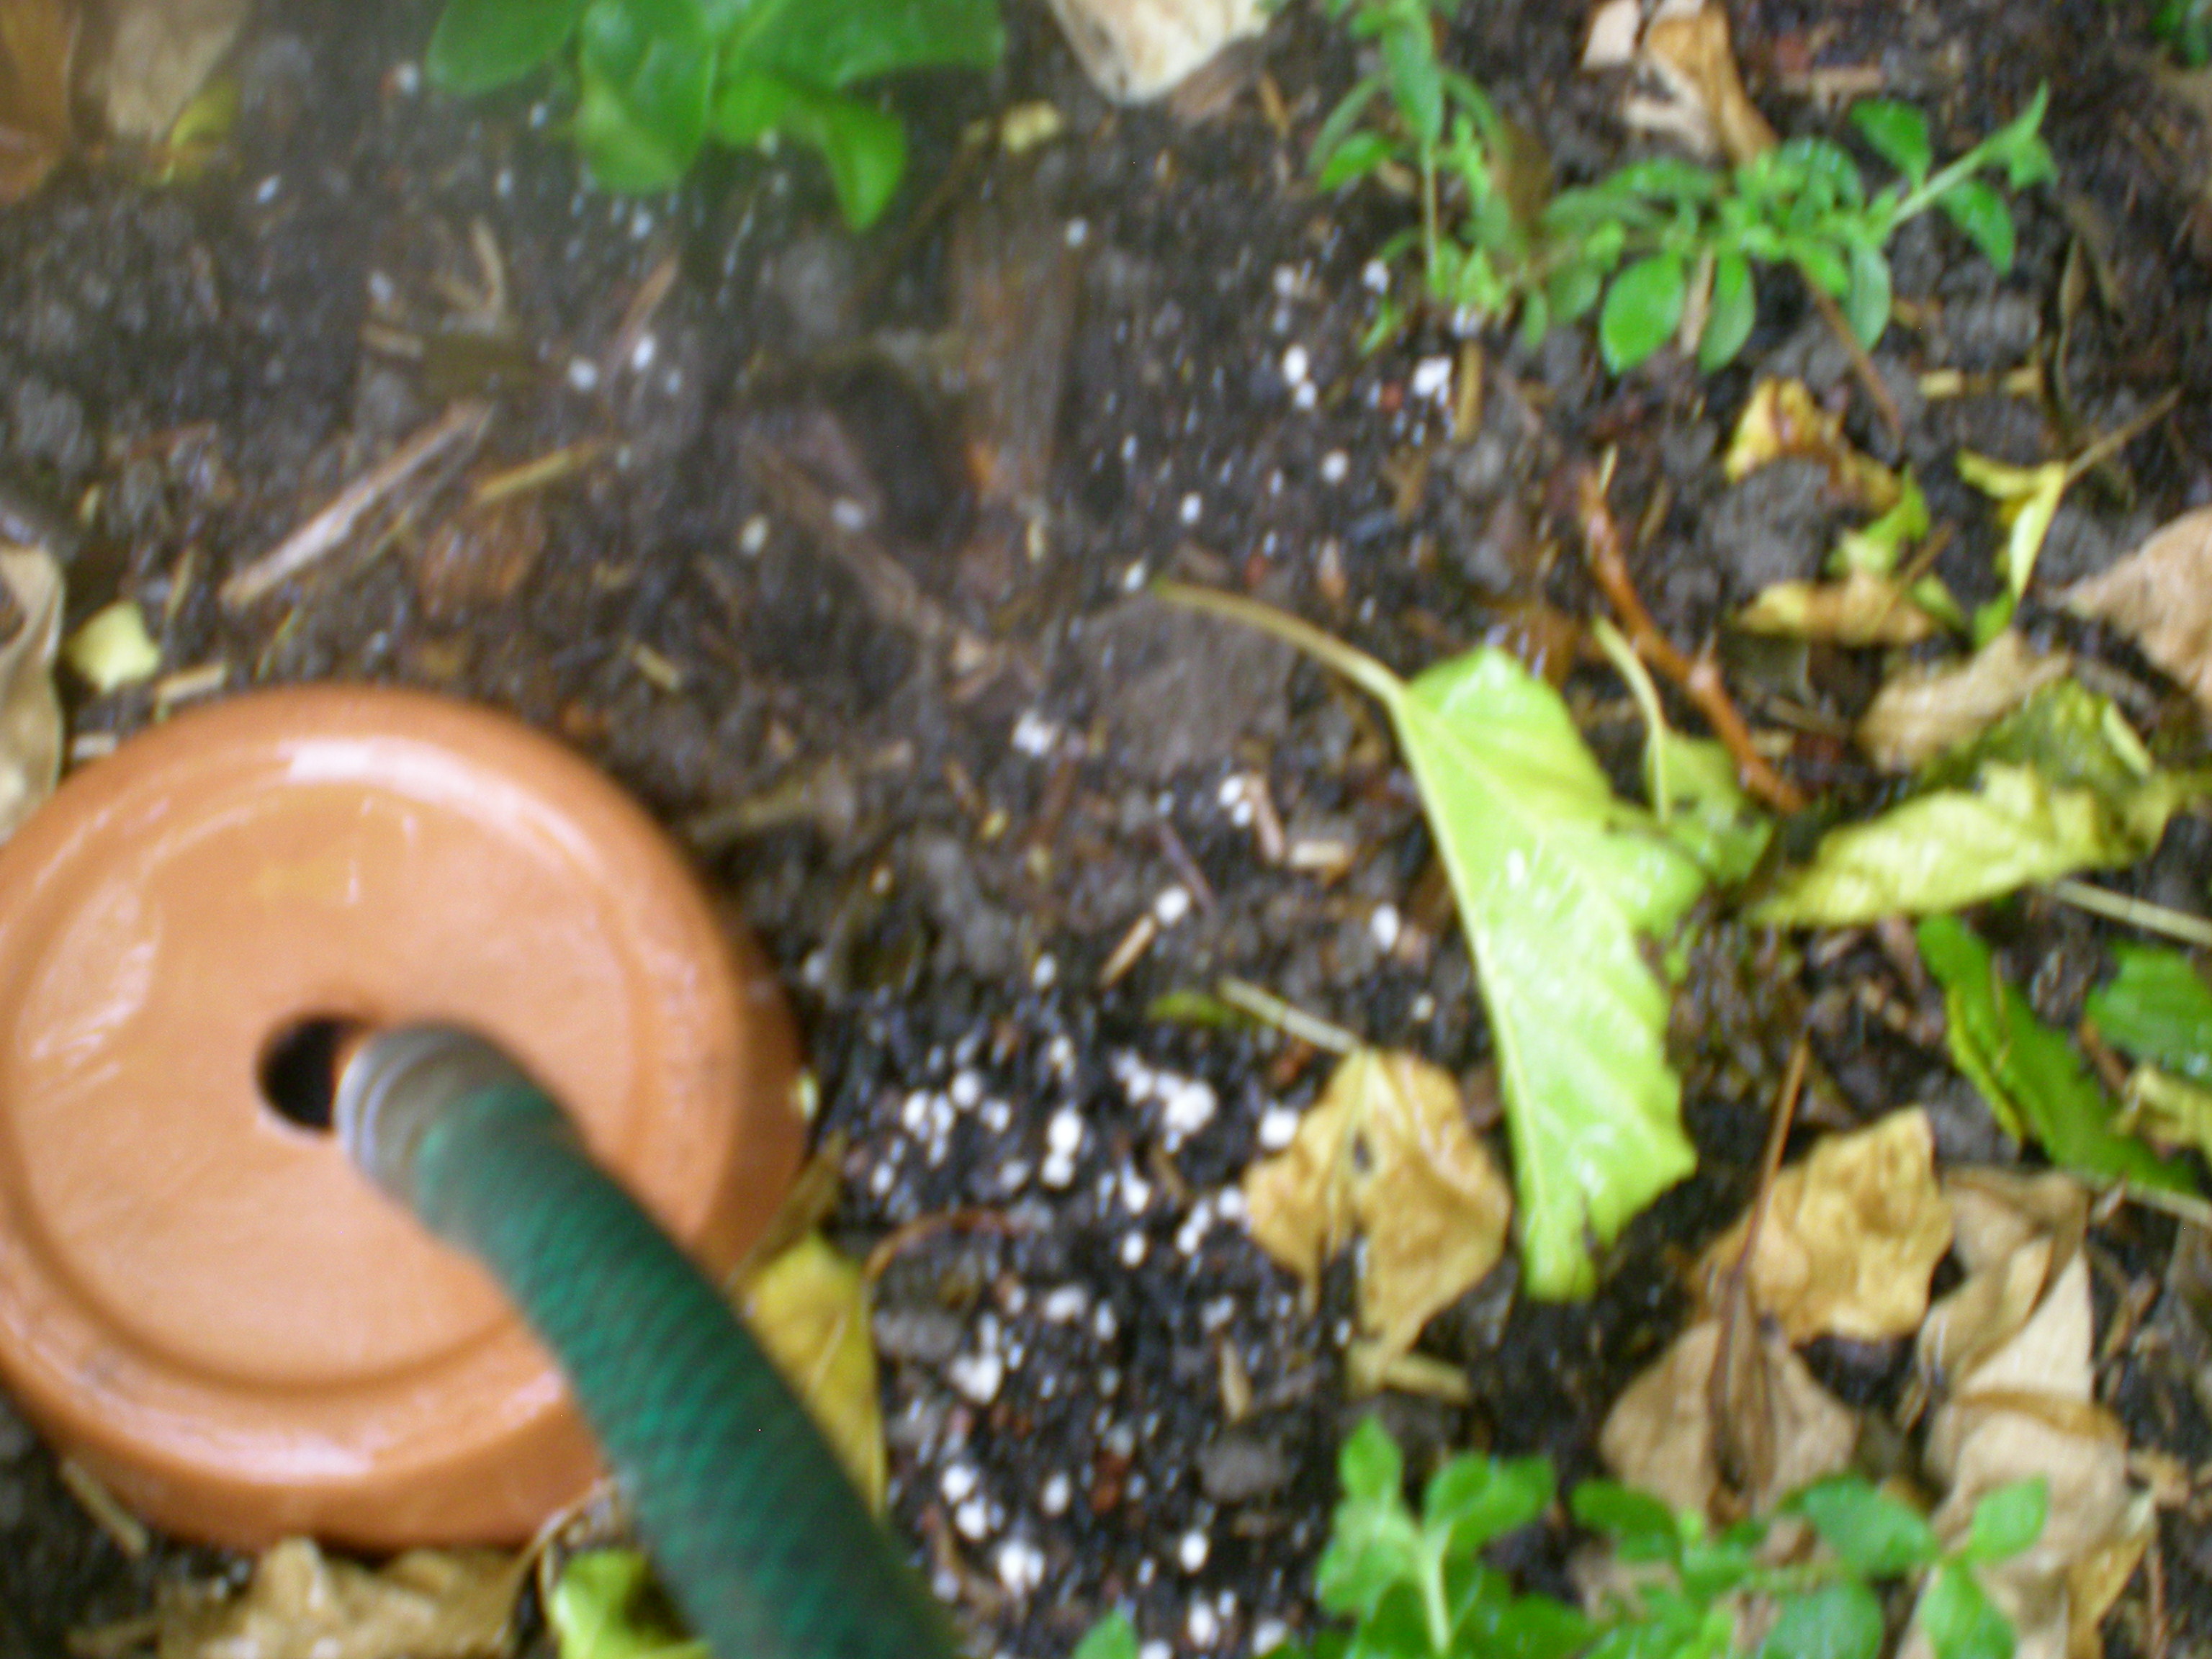
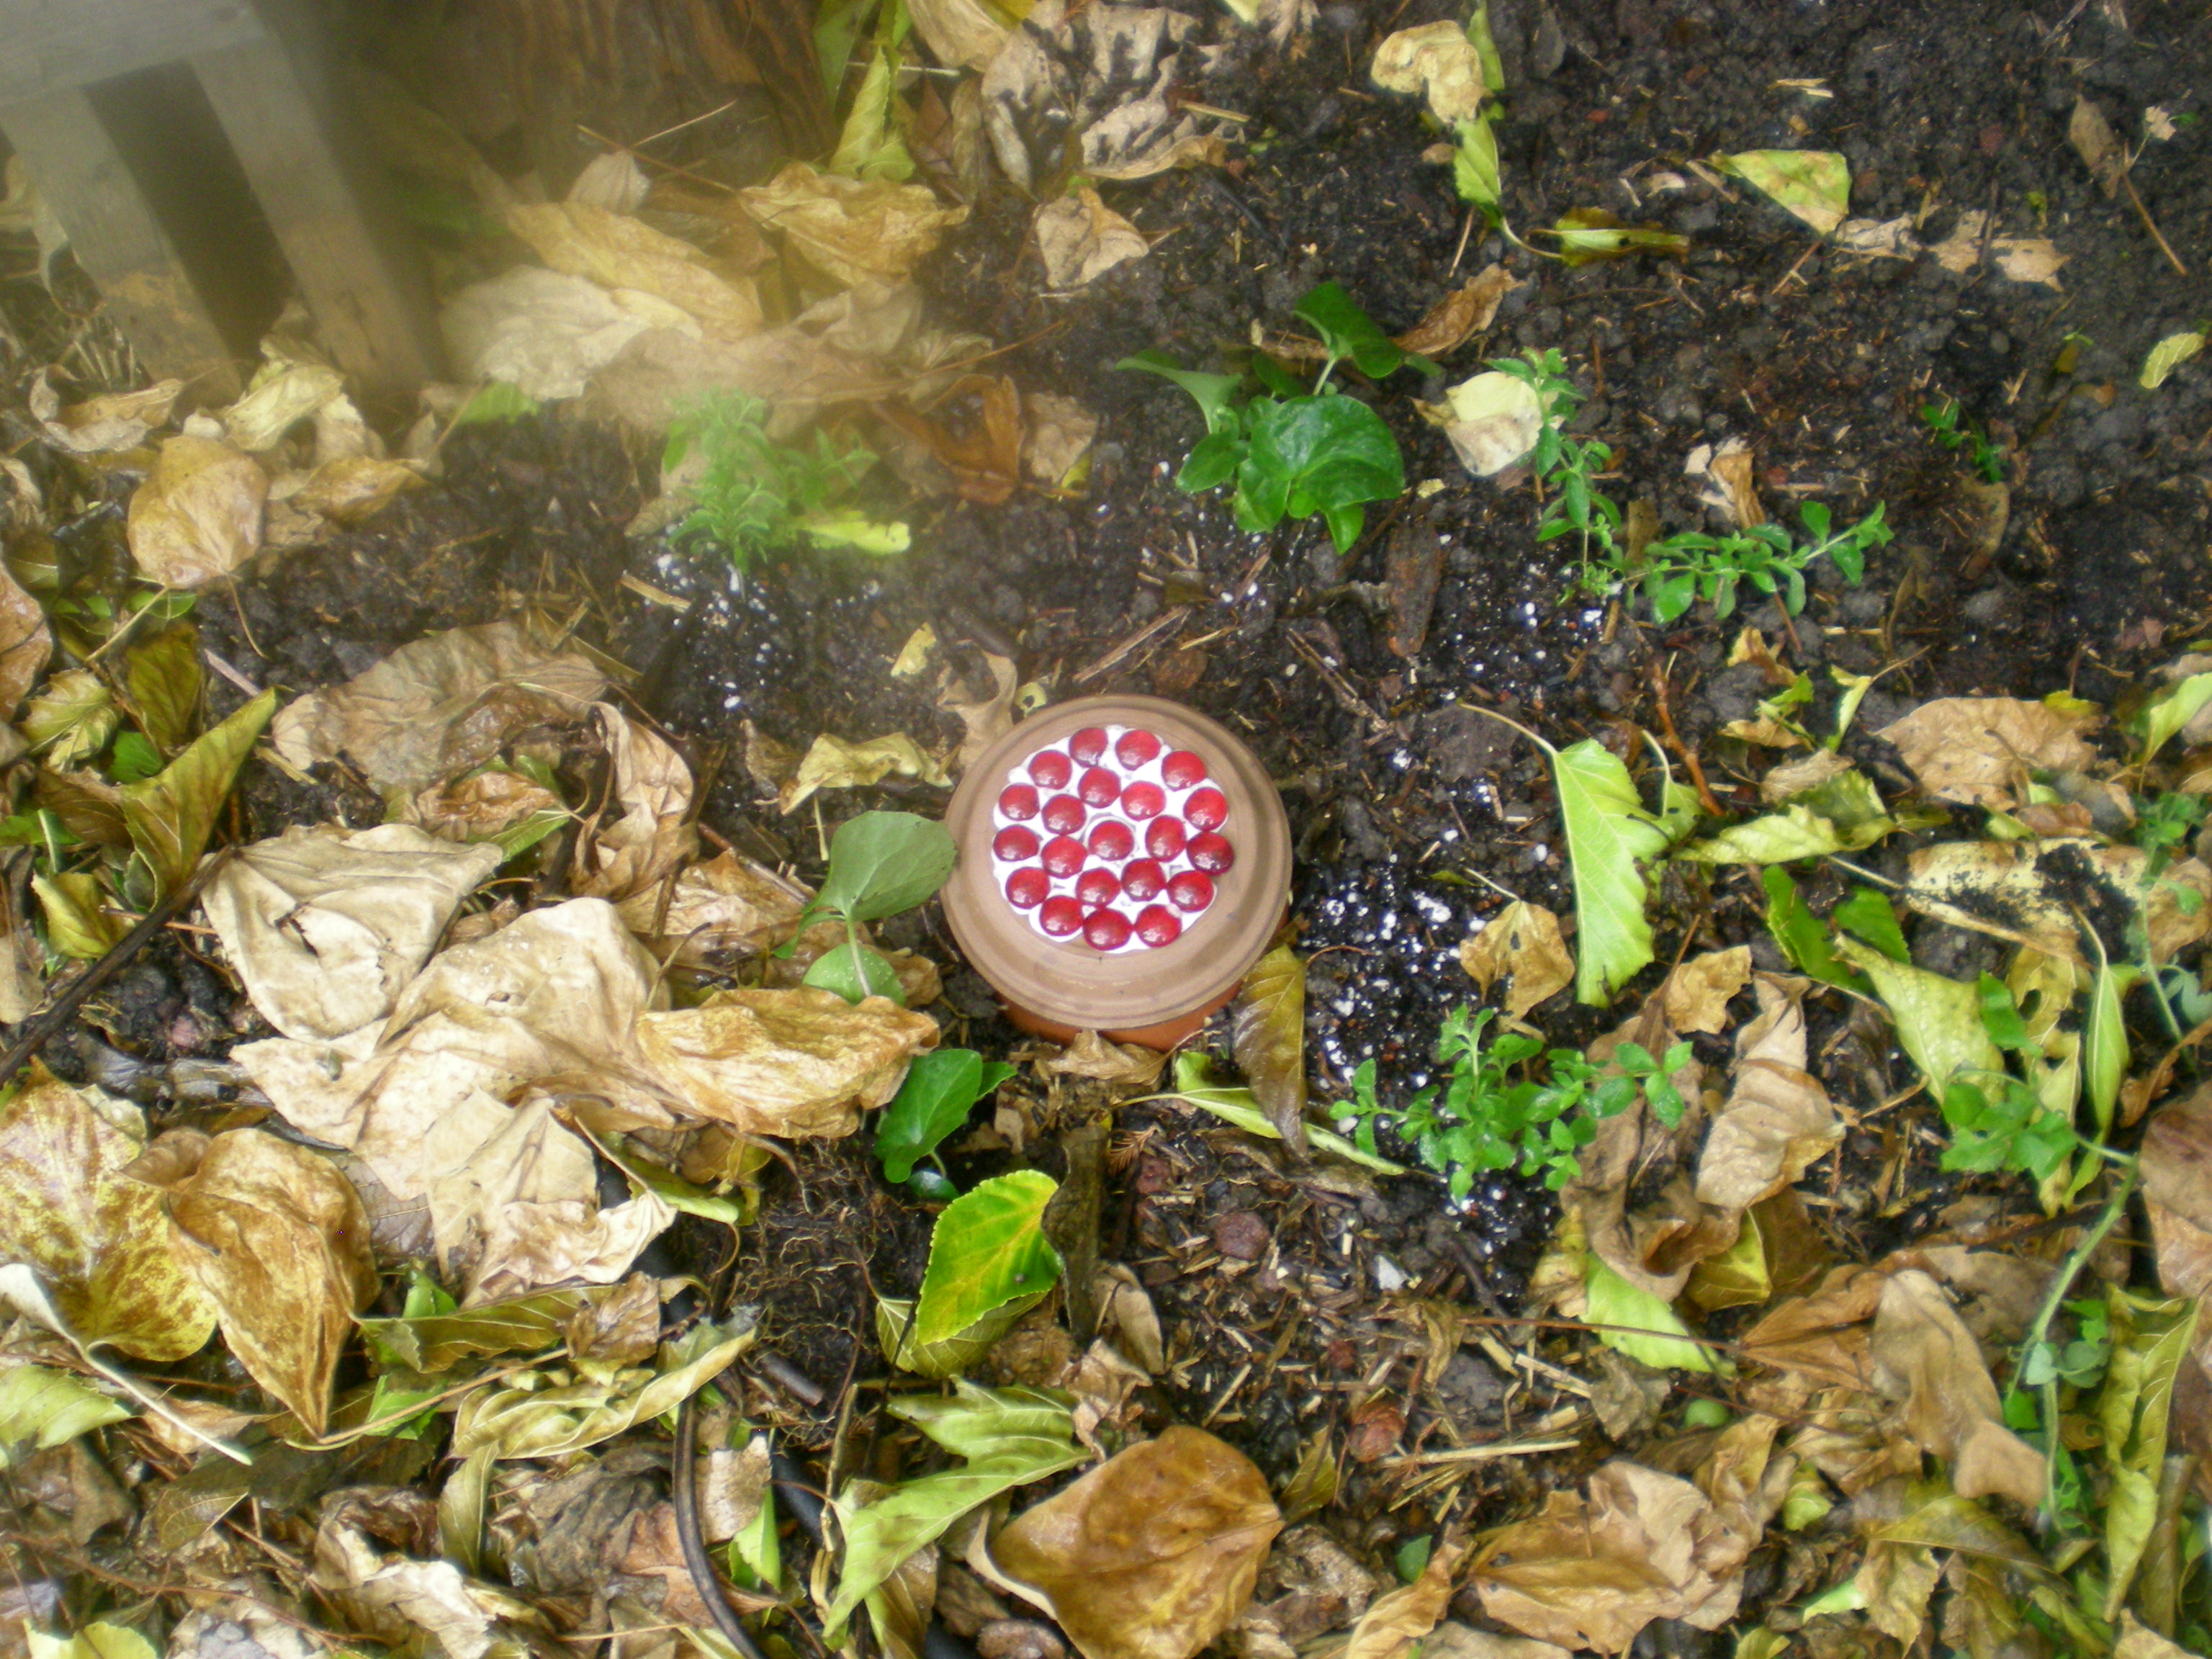
 I got everything planted and buried, then I gave the plants a good watering in. After that, I filled the Ollas and put on the tops. The tops are to prevent evaporation and mosquito breeding.


 I plan to check the water daily by removing the top and putting a stick down inside. When it gets down to half full, I’ll add more water. I’ll report back on how the plants are doing and how often I need to fill the Ollas.
Stay tuned!
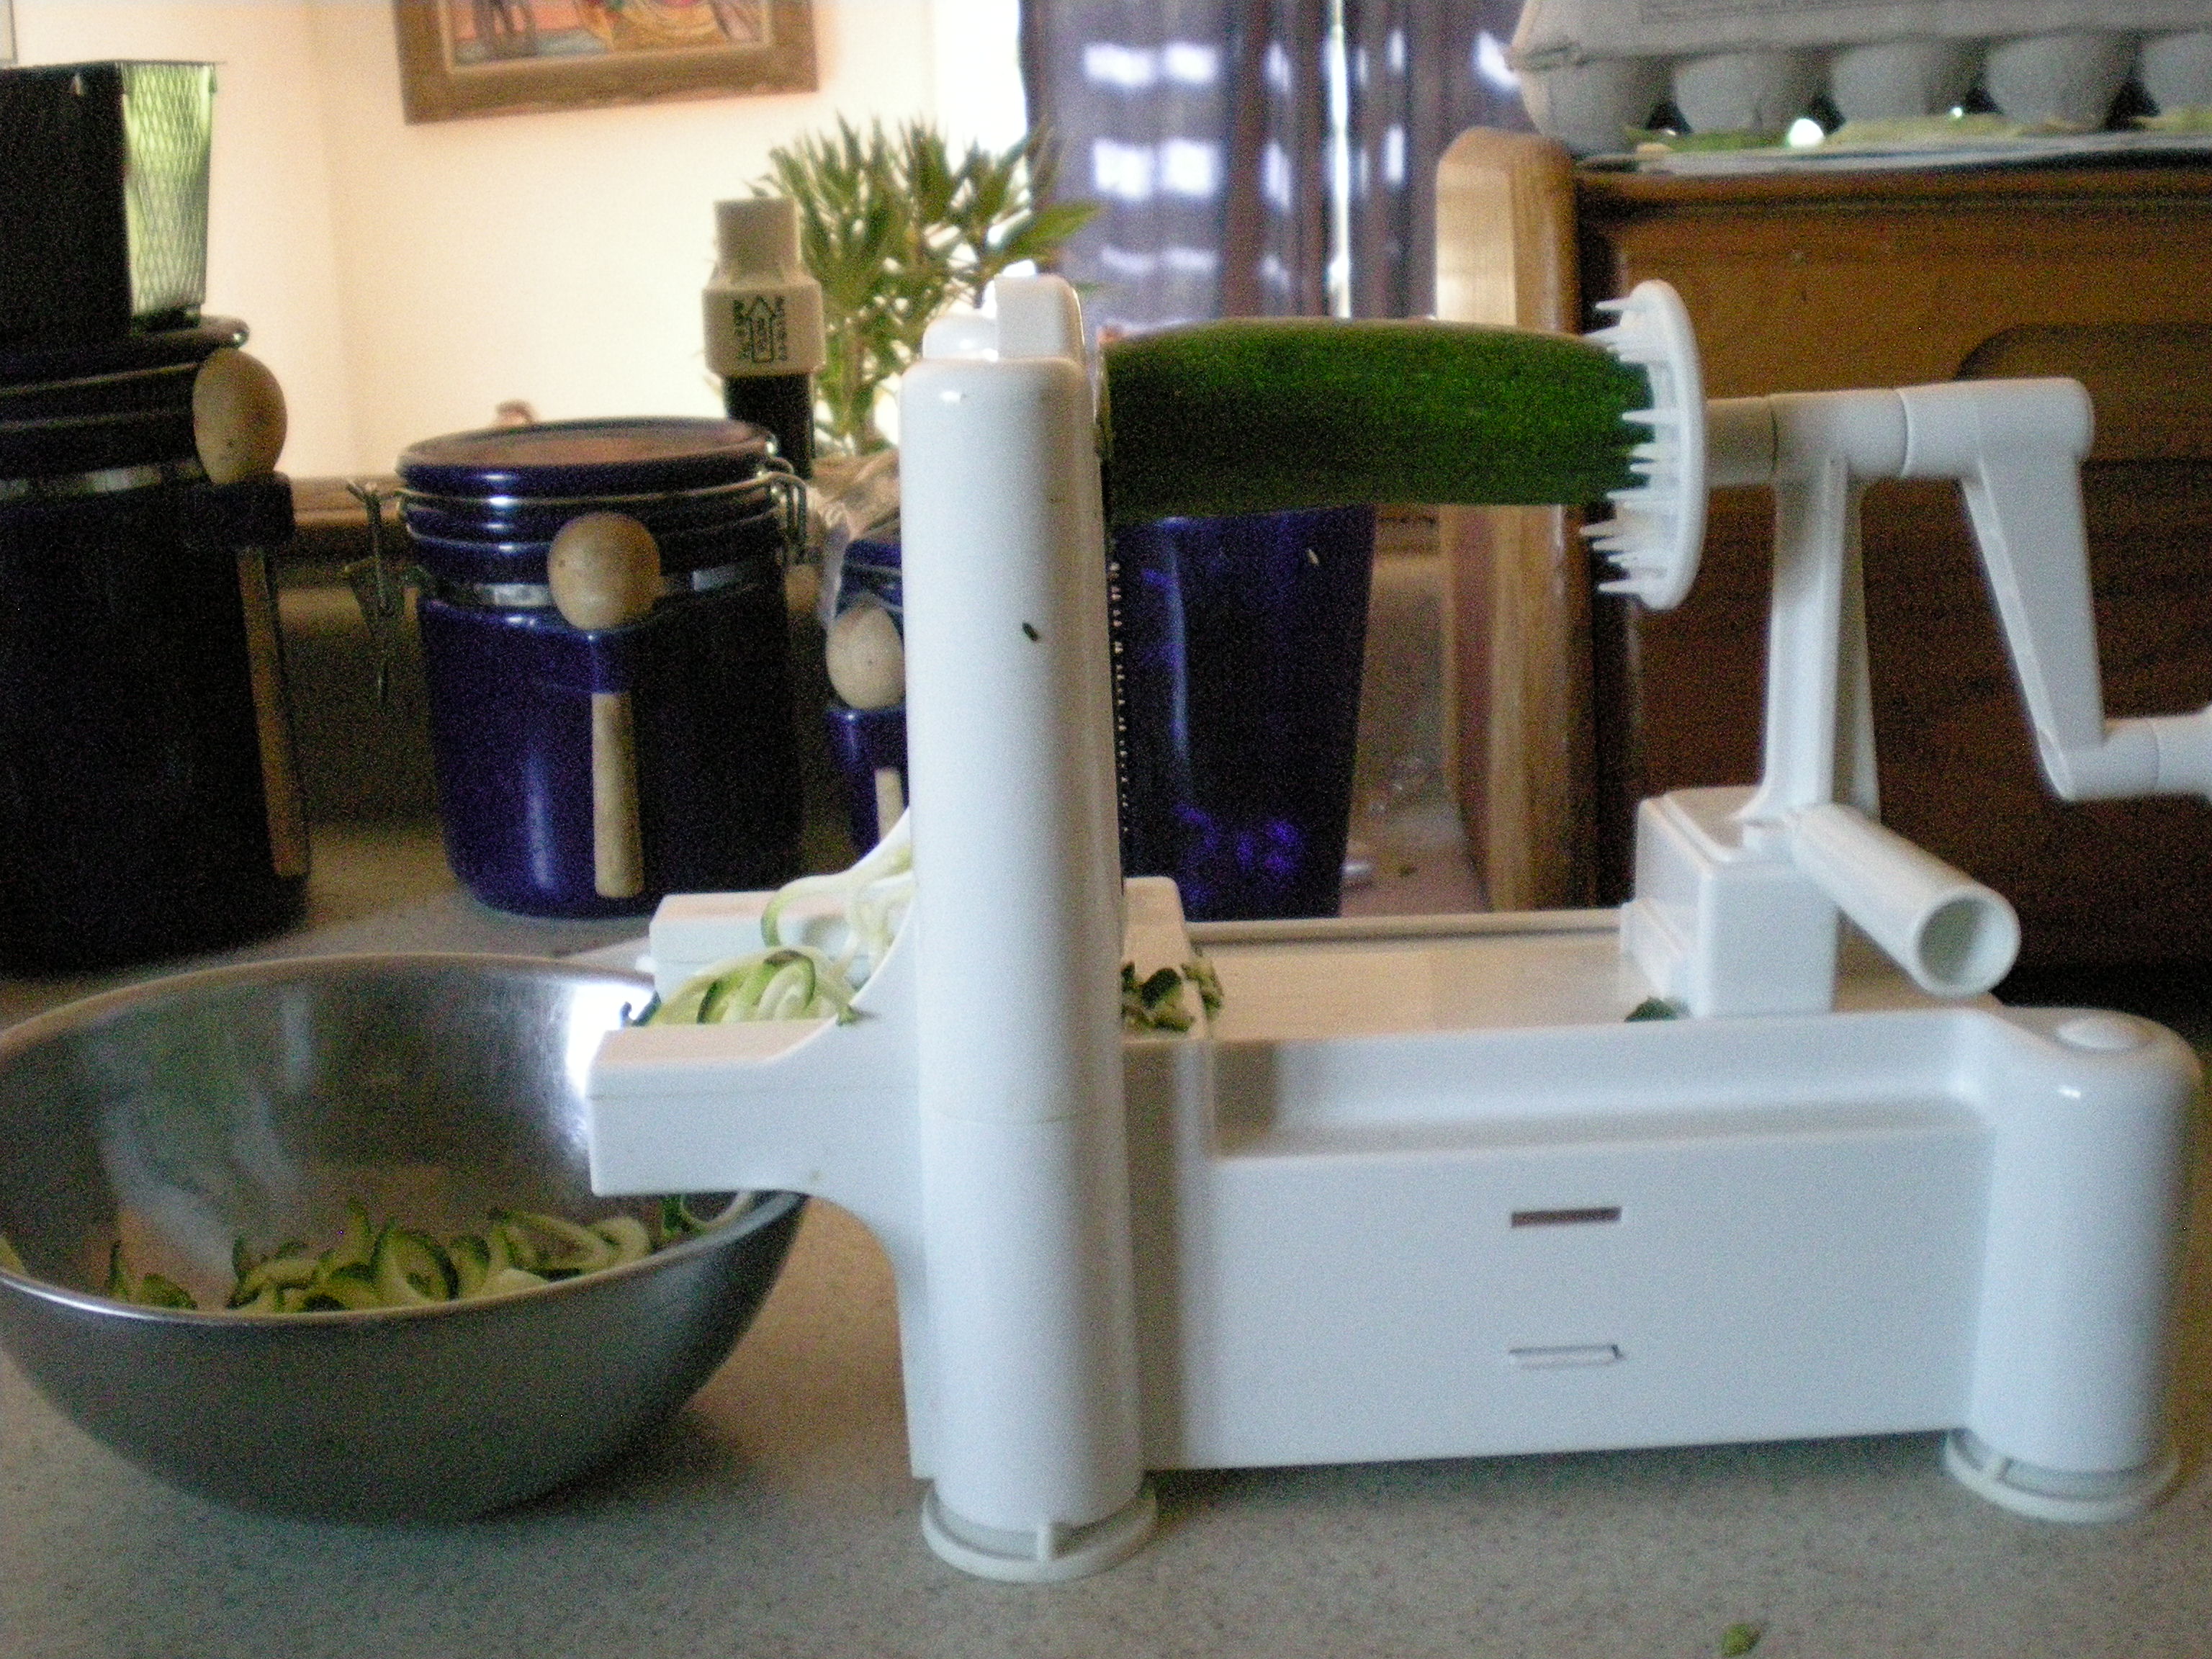
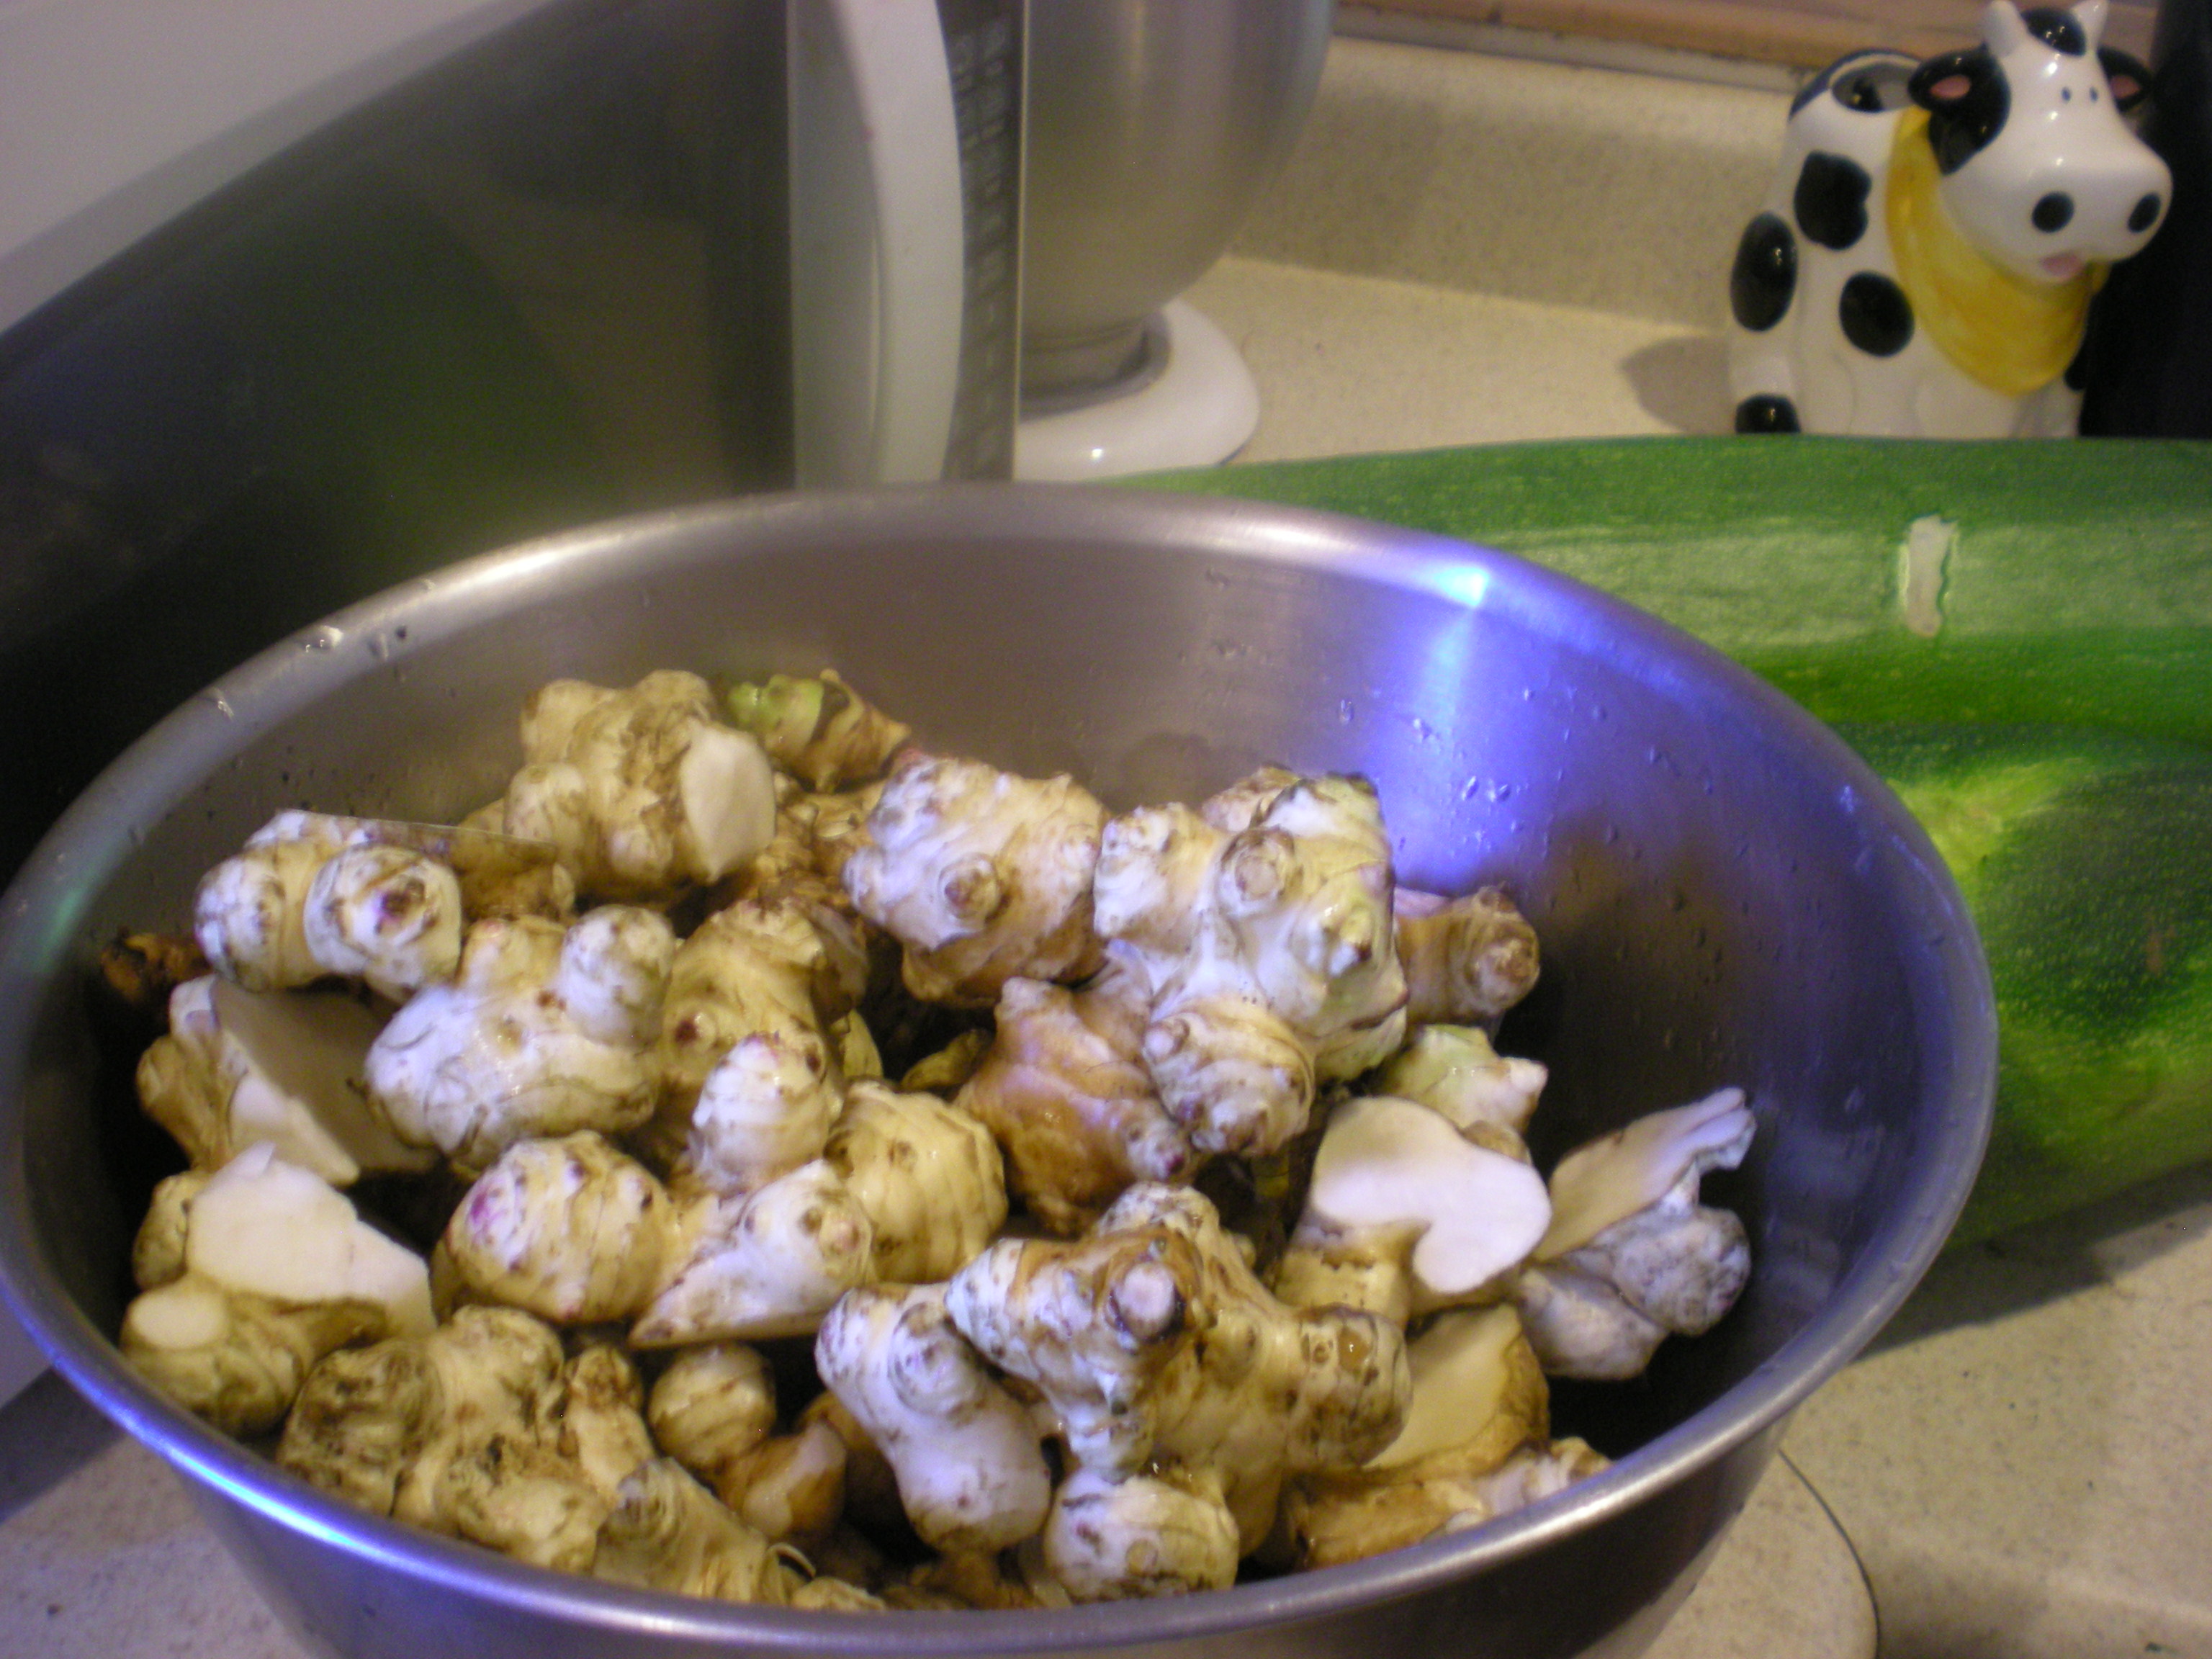 The metal bowl contains 5 pounds of Jerusalem Artichokes (aka Sunchokes). I’ll make a soup tonight, and next week will feature Sunchokes fried in Sage Butter, and Roasted Sunchokes (perhaps with Blue Potatoes).